Module 3 Formstorming
Weekly Activity Template
Valerii Babachenko
Project 3
Module 3
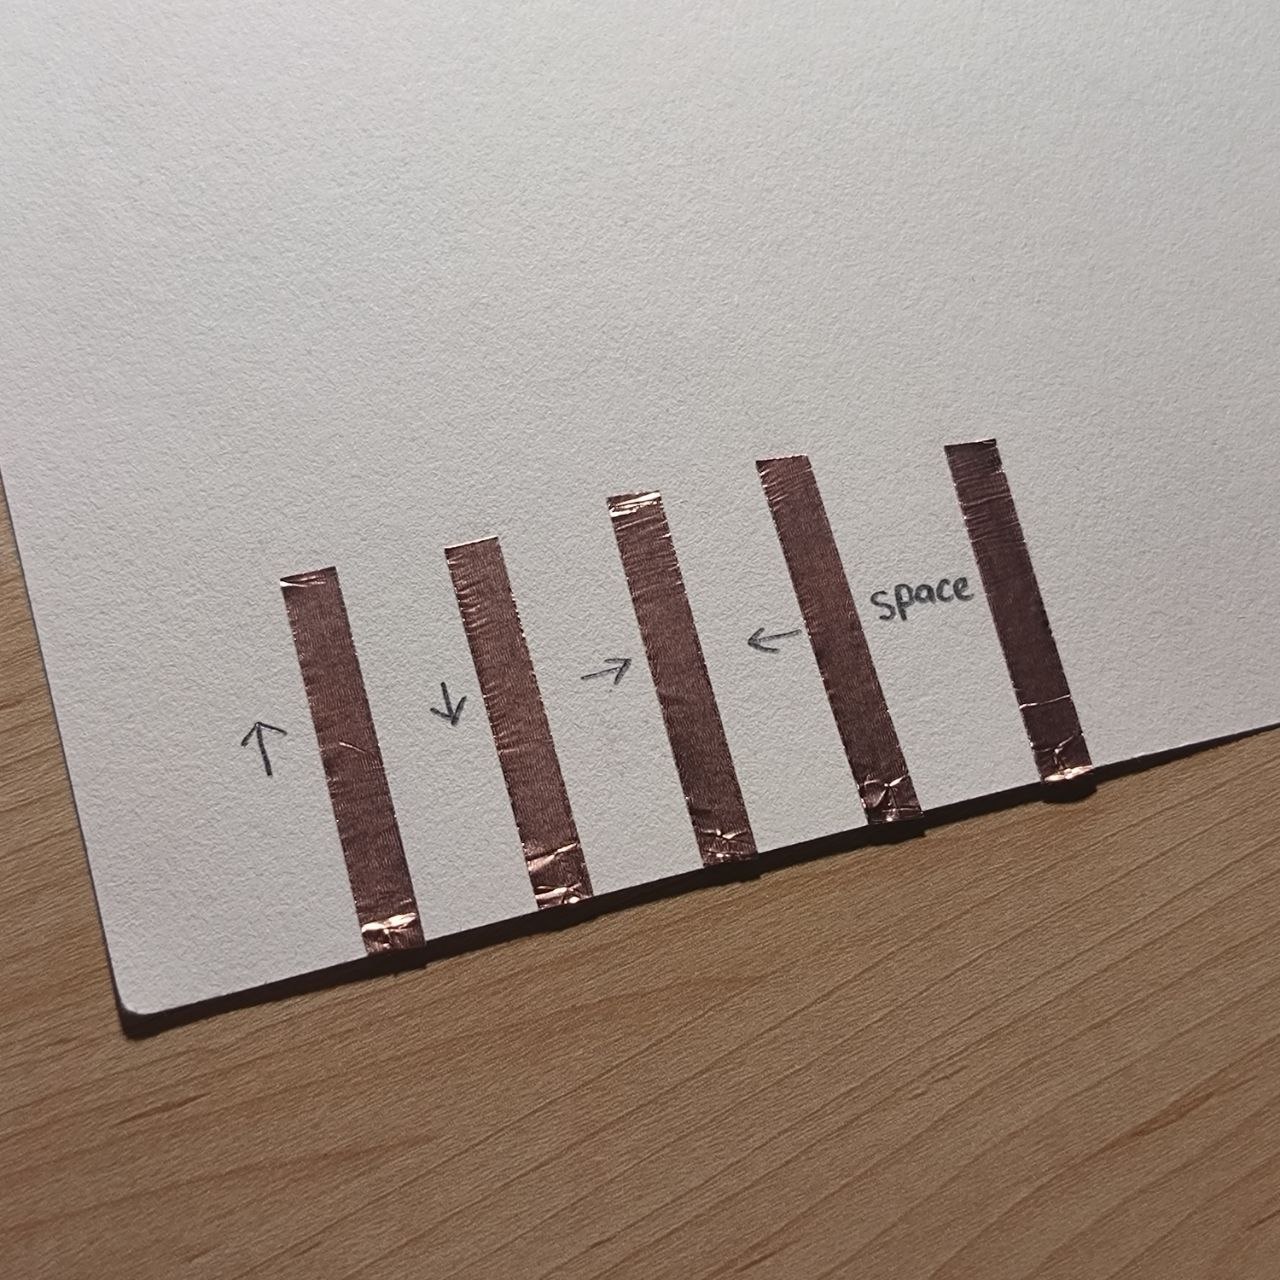
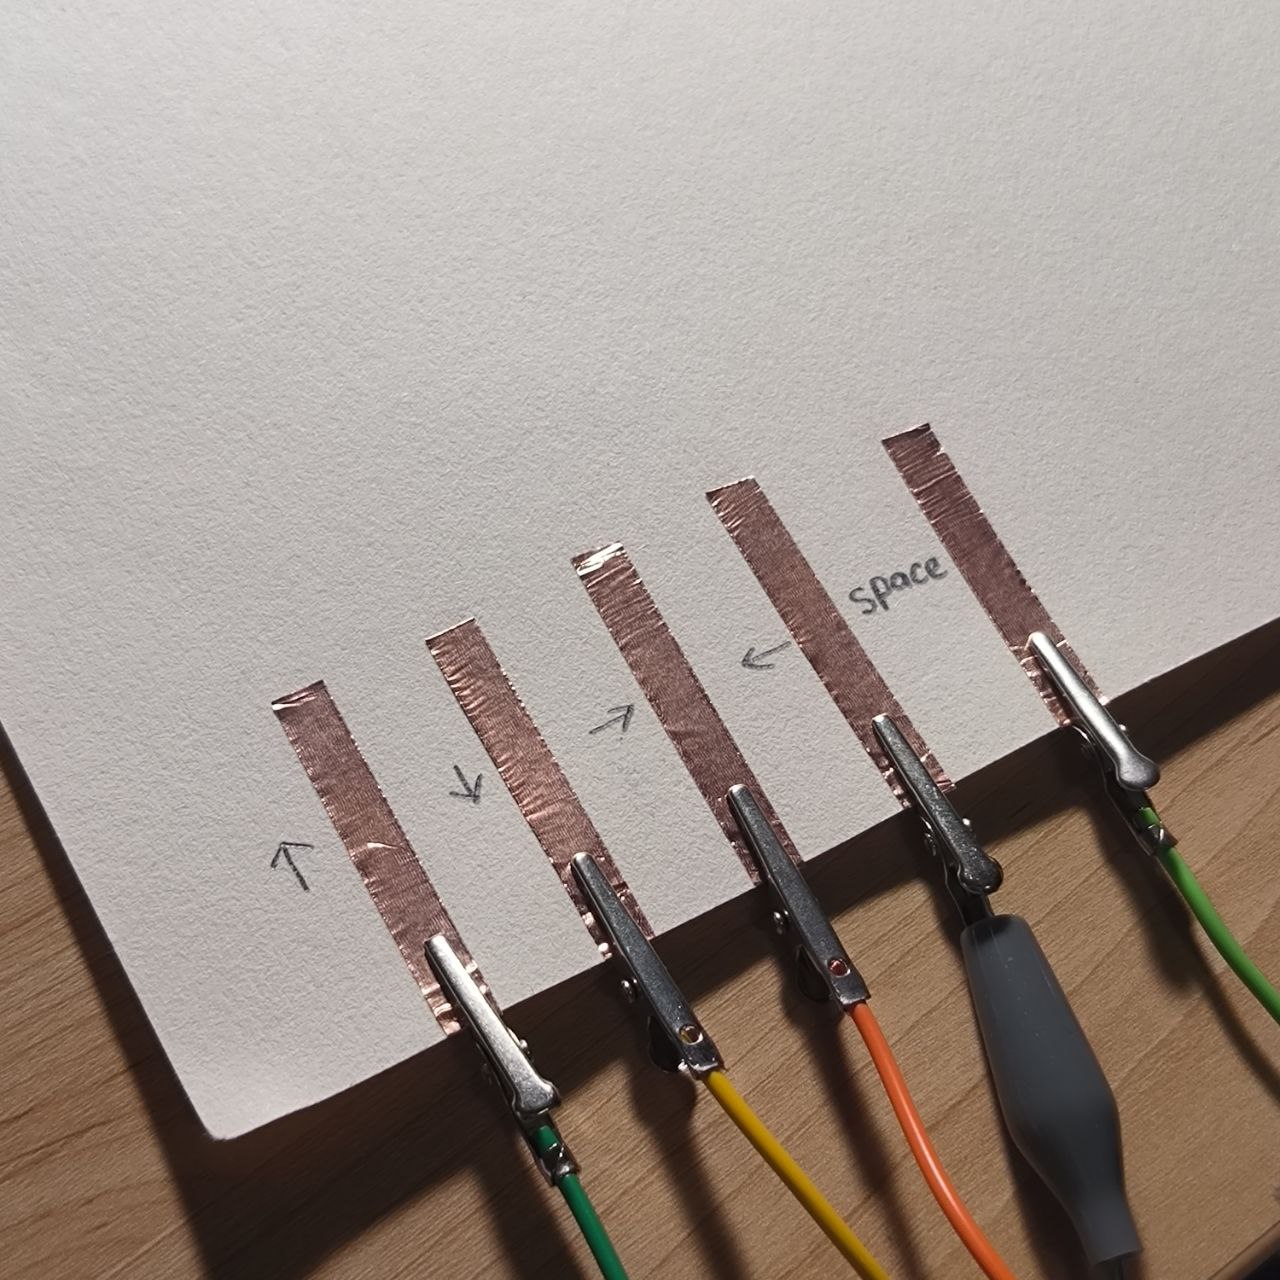
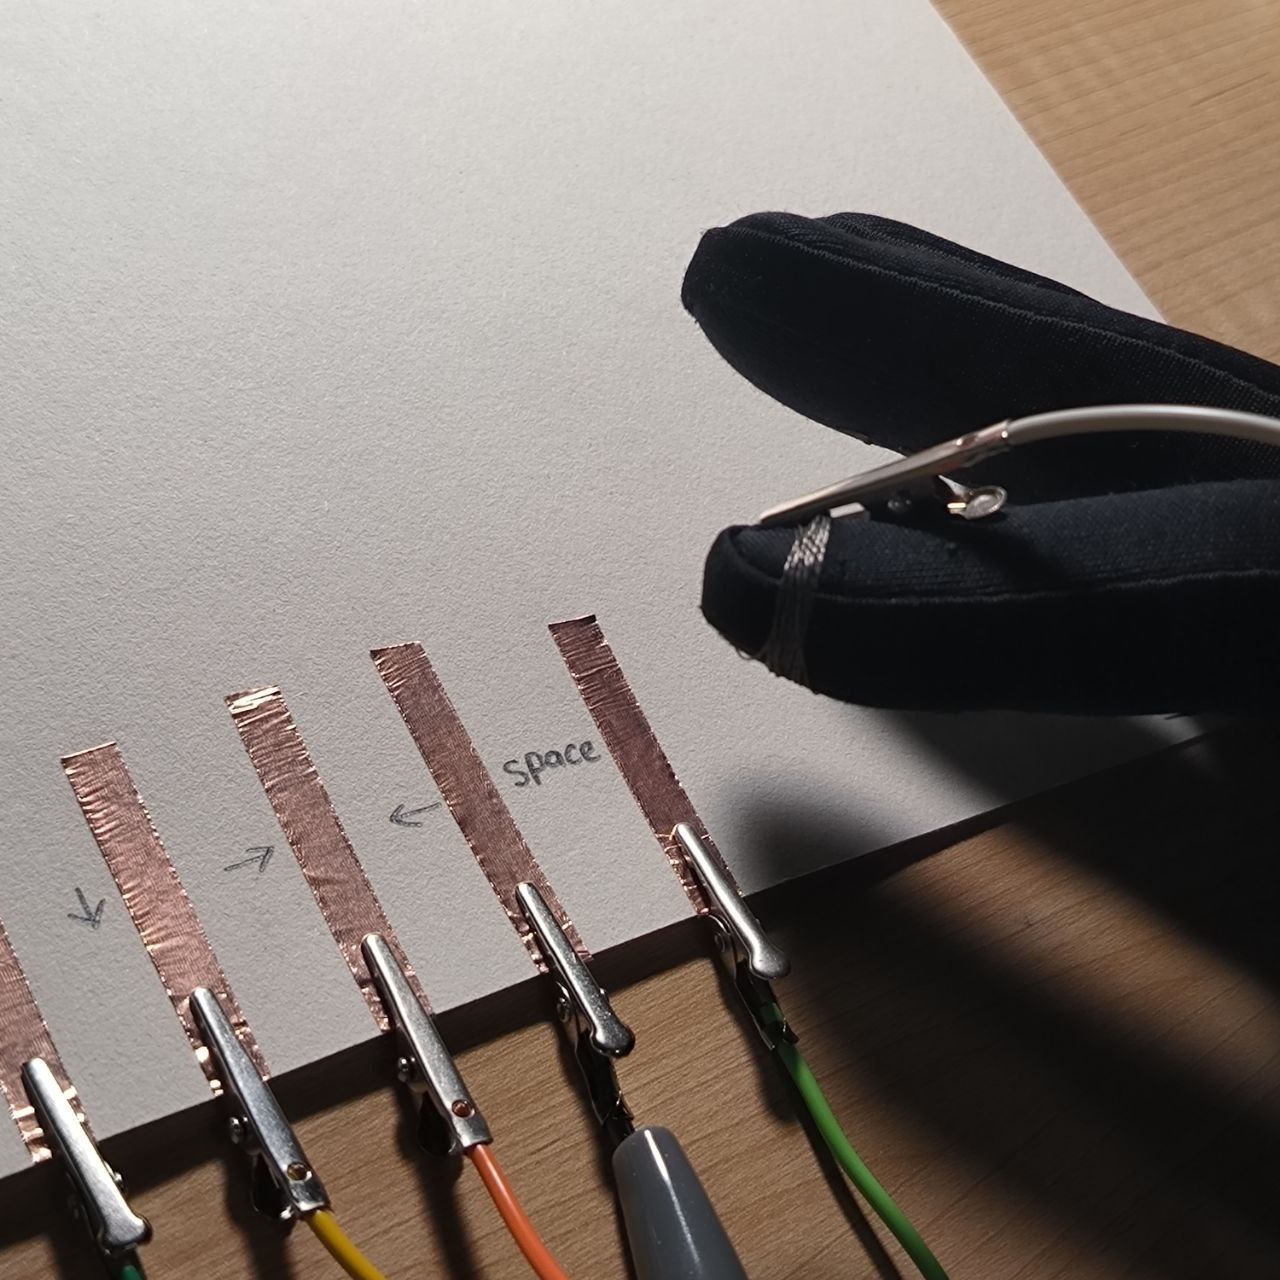
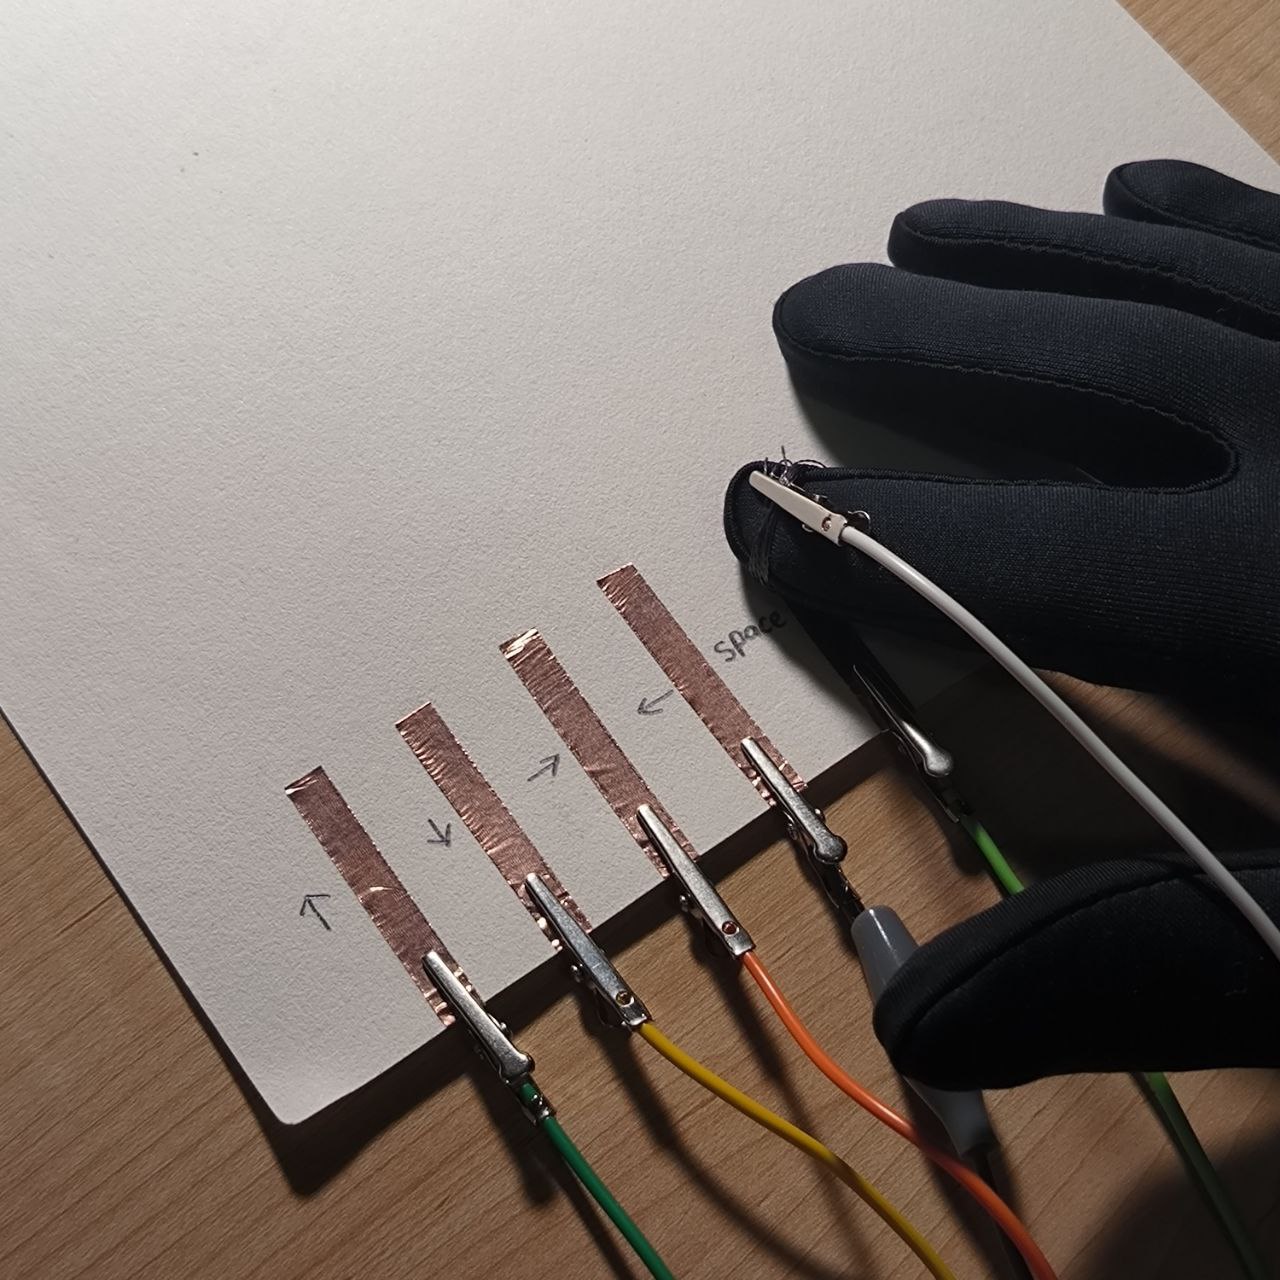
These are two weekly Activities based on the provided tutorials
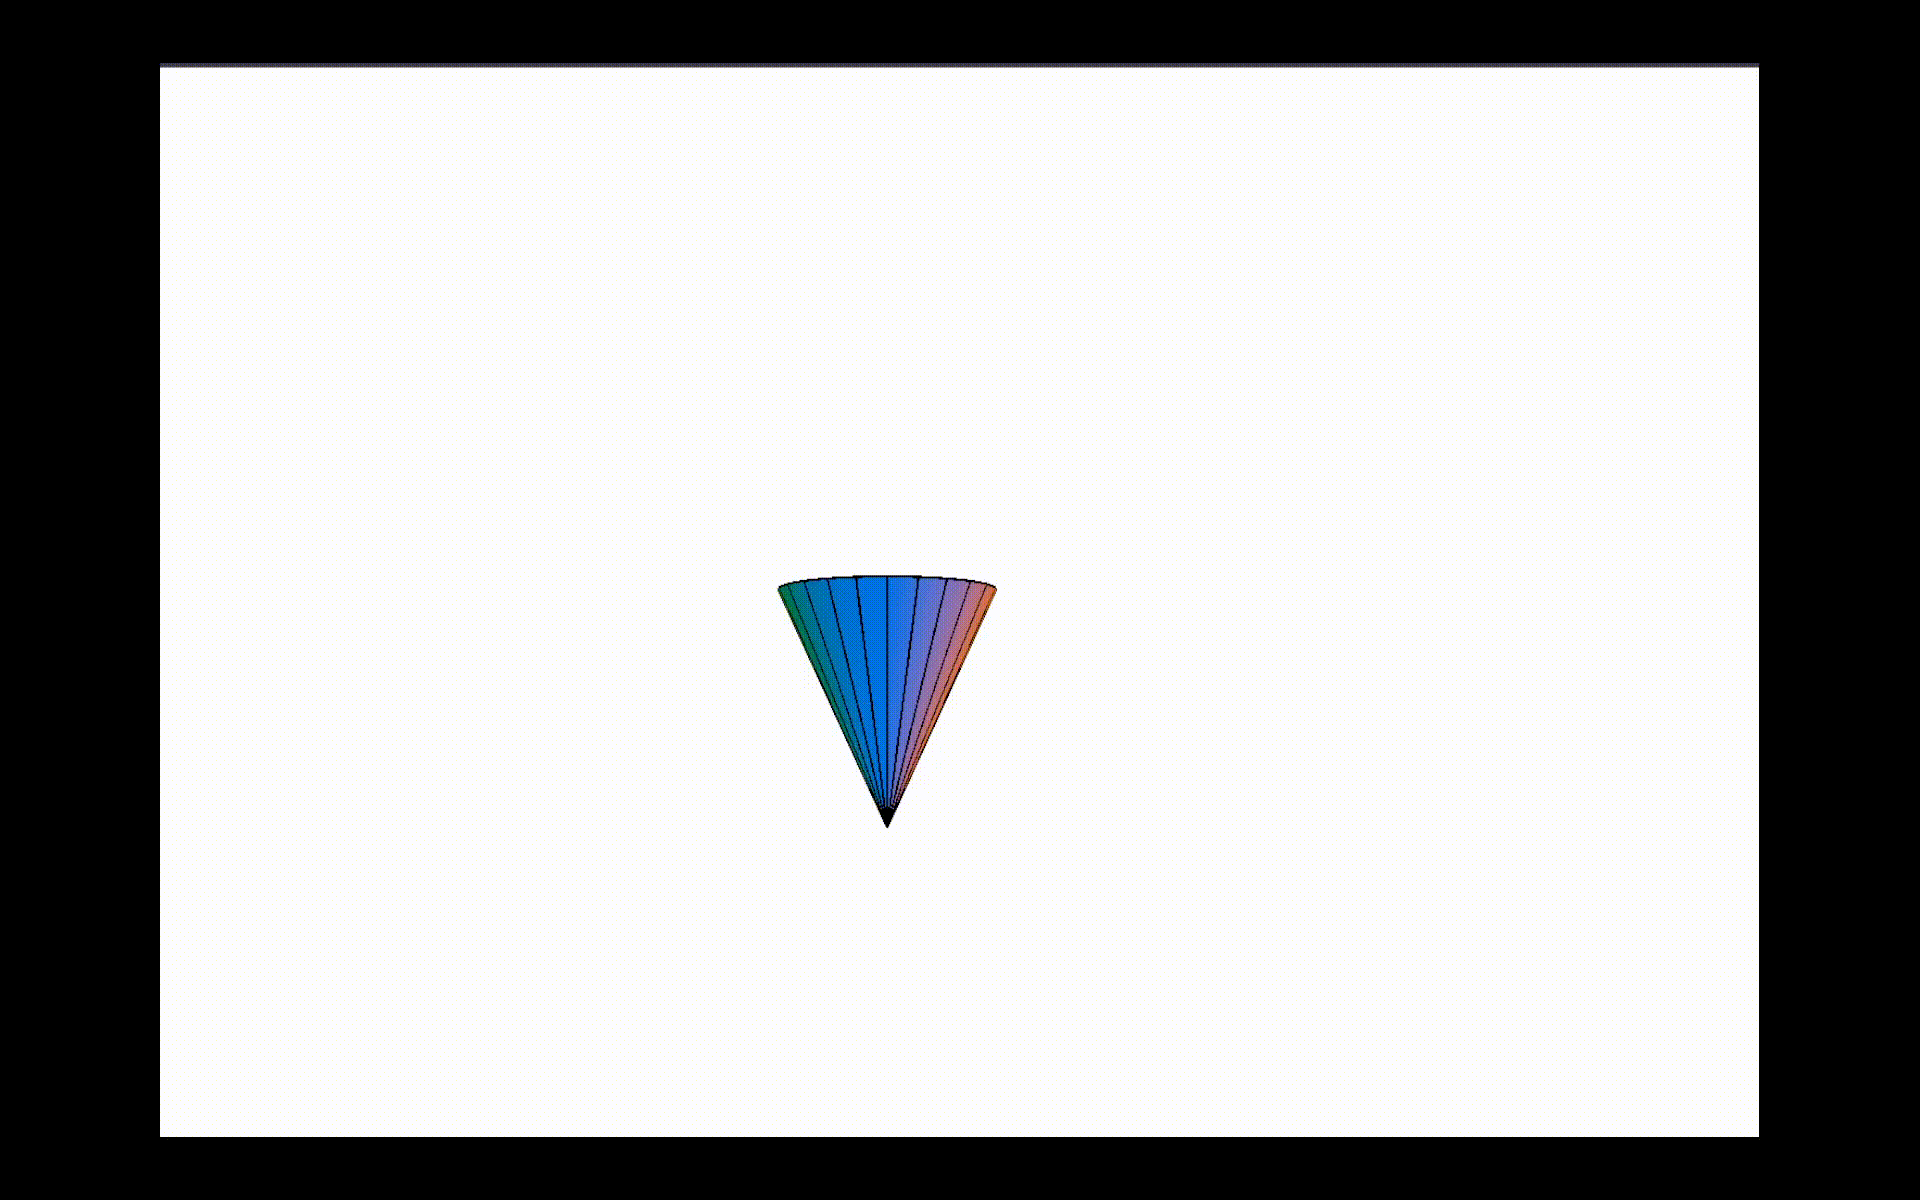
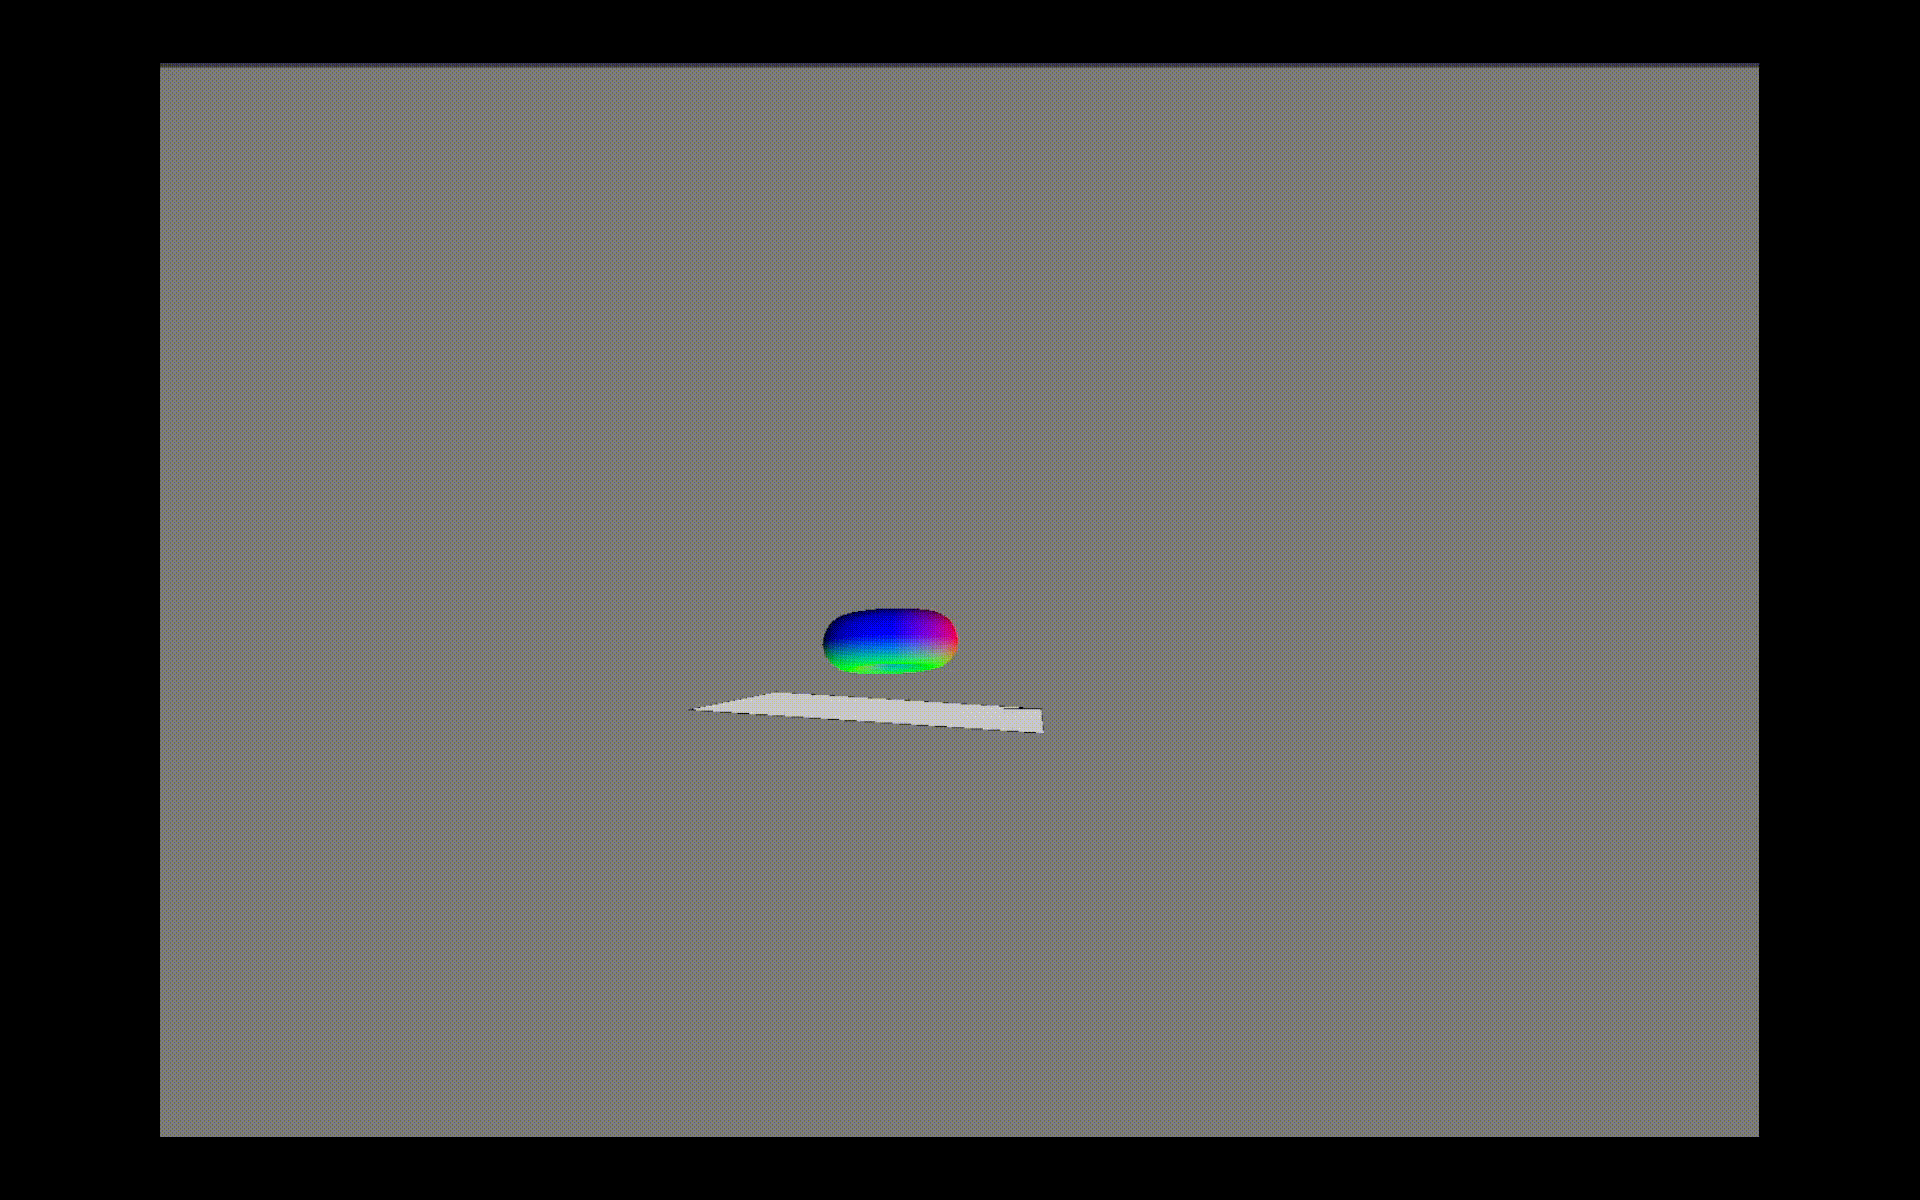
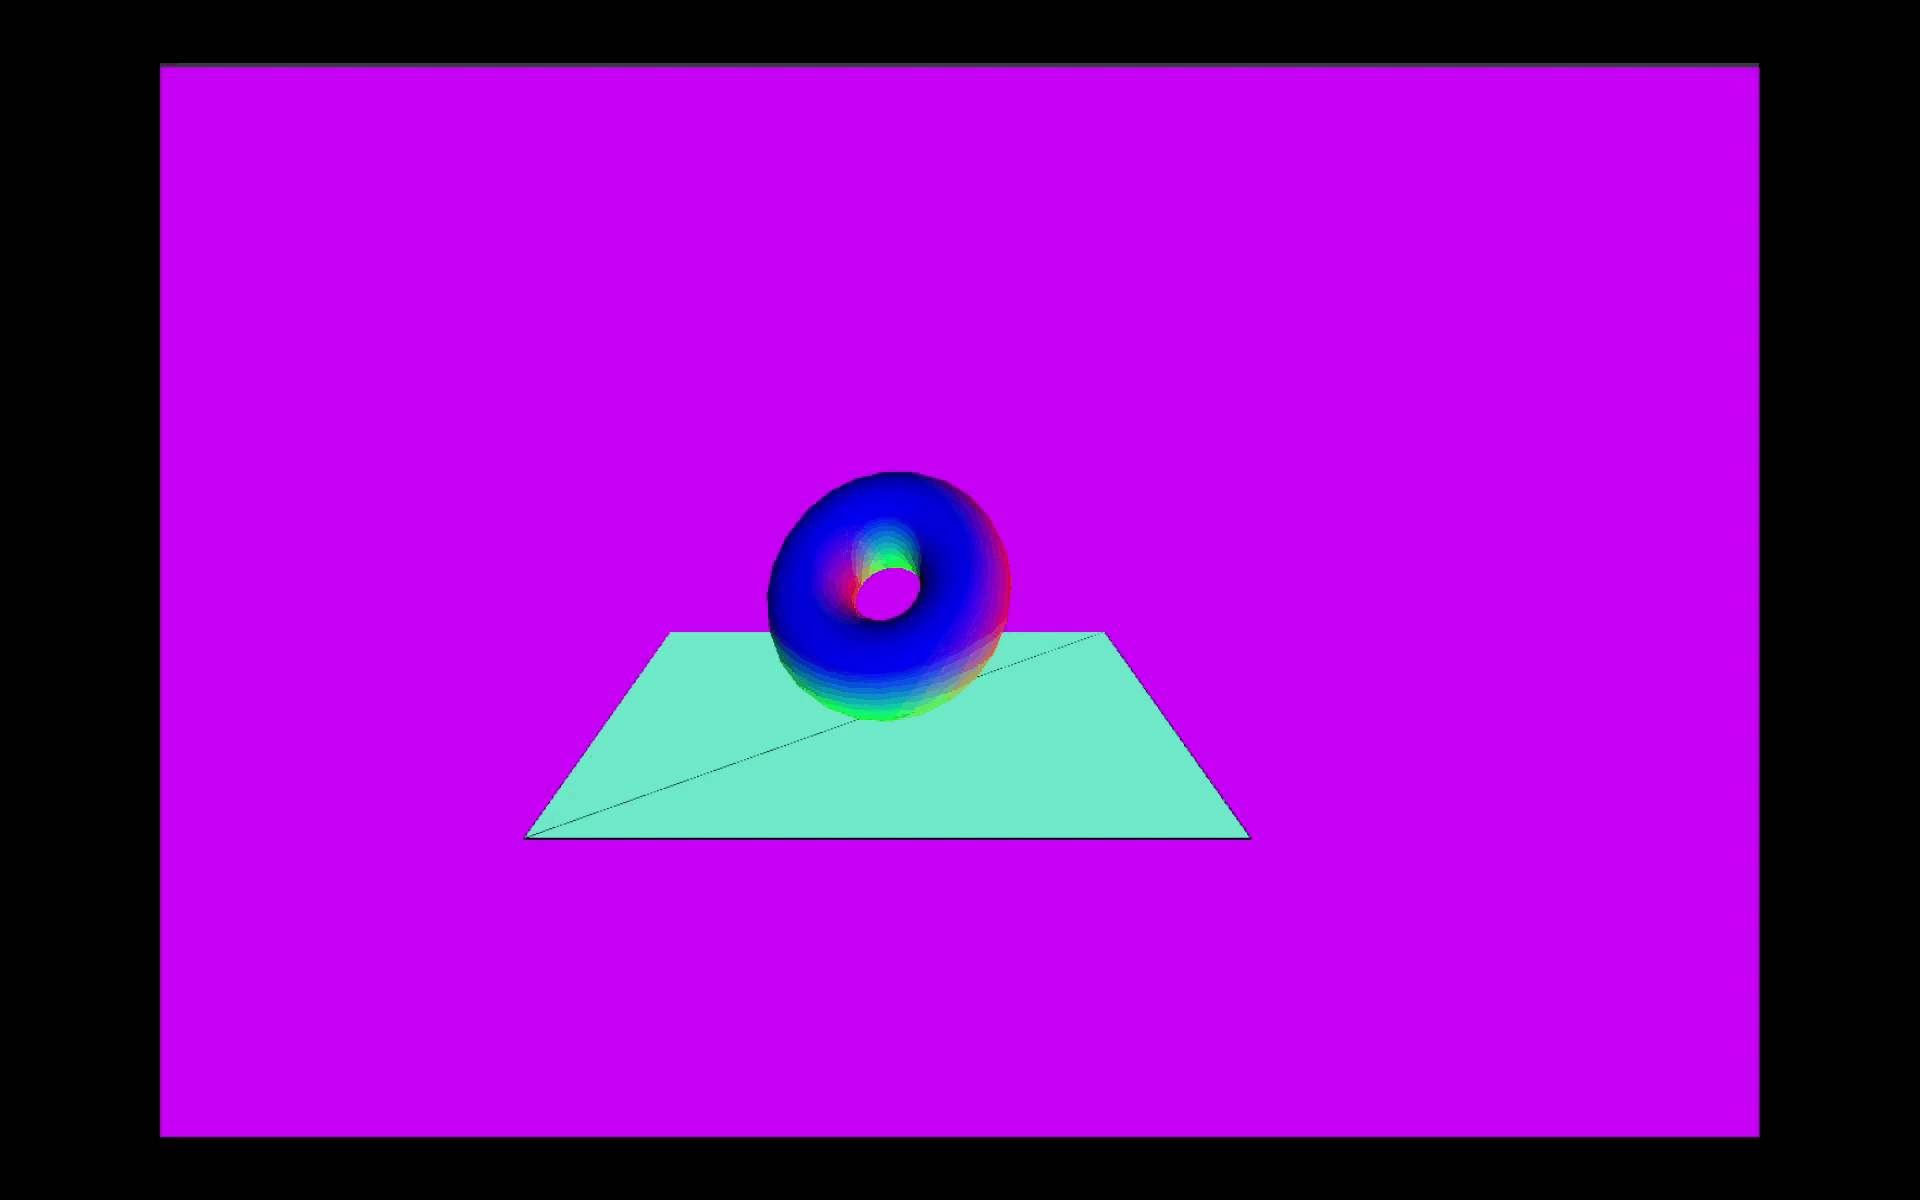
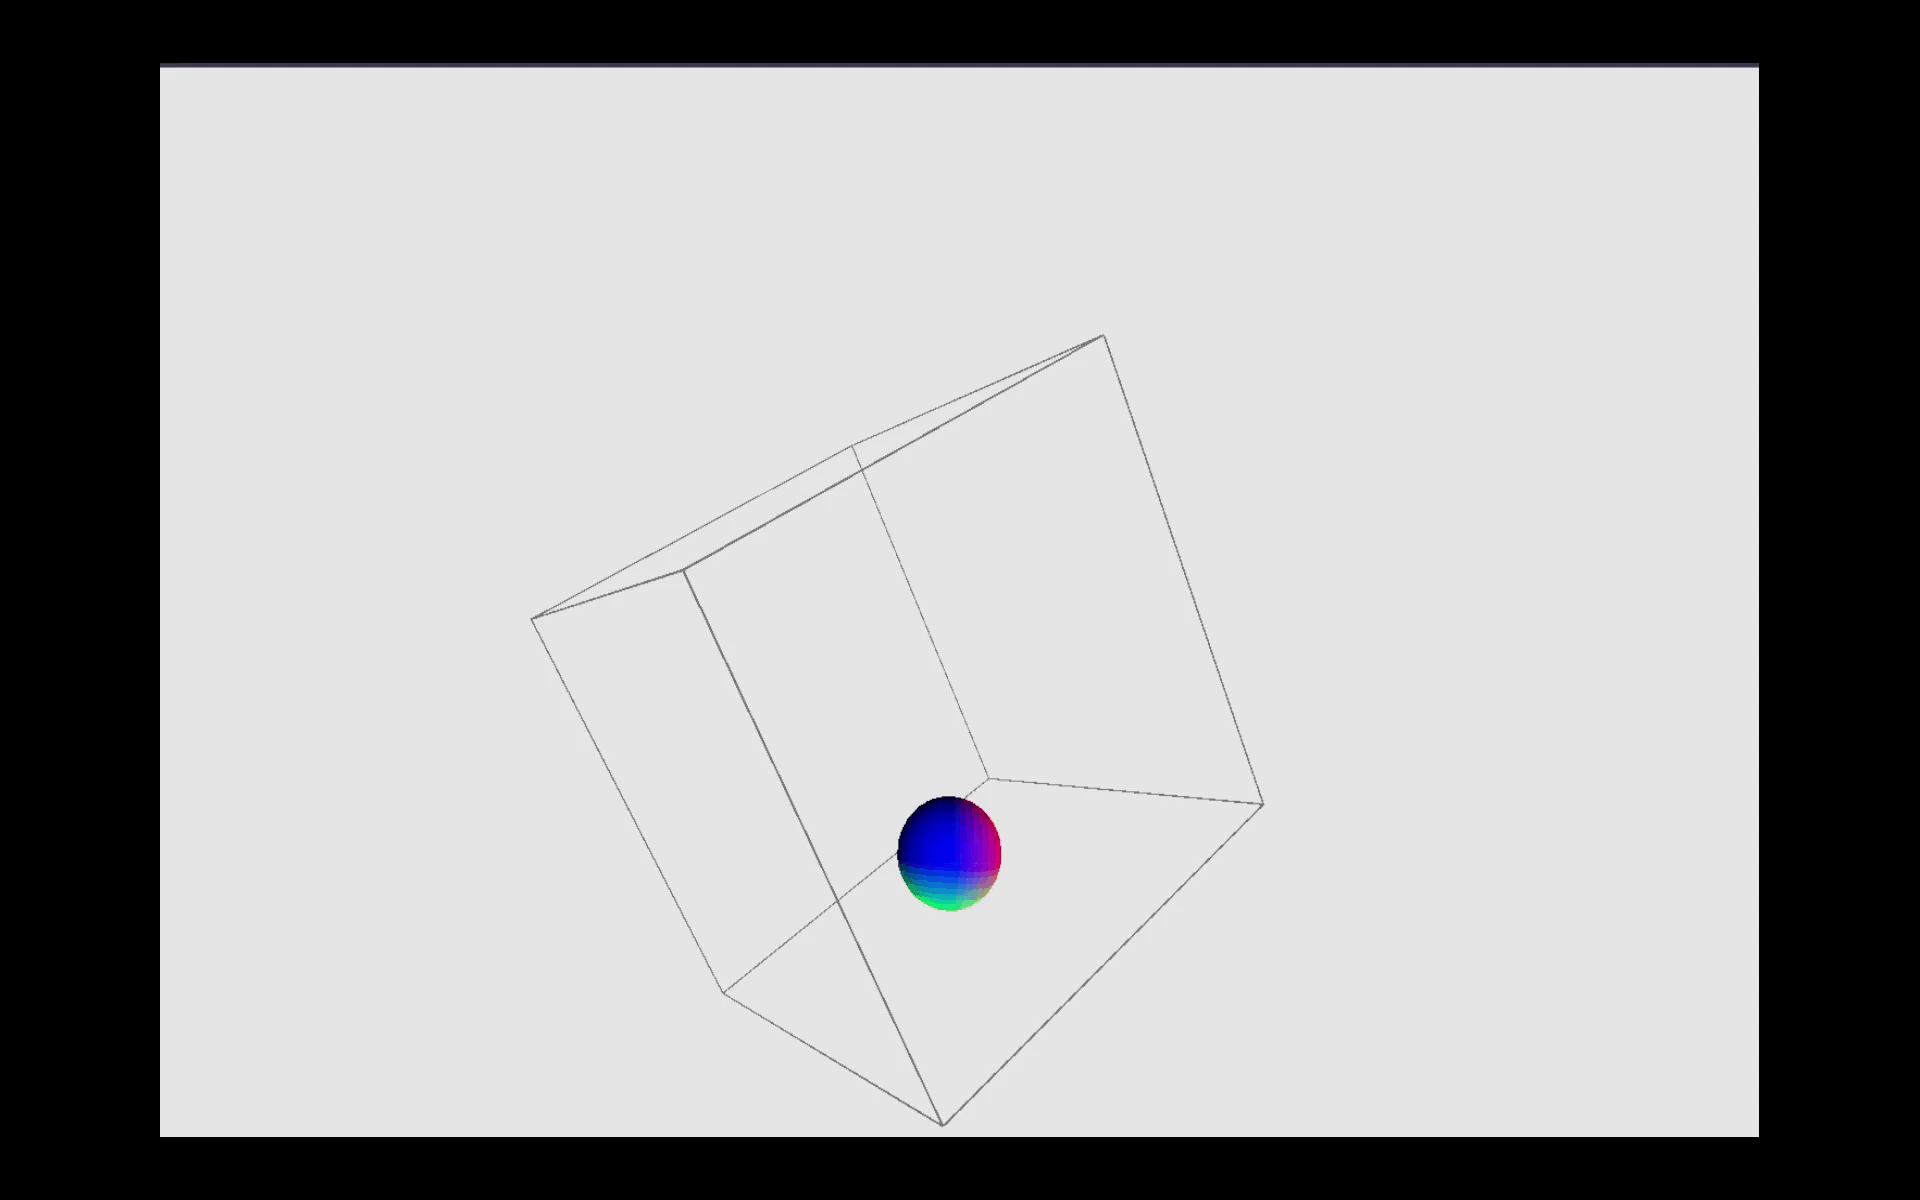
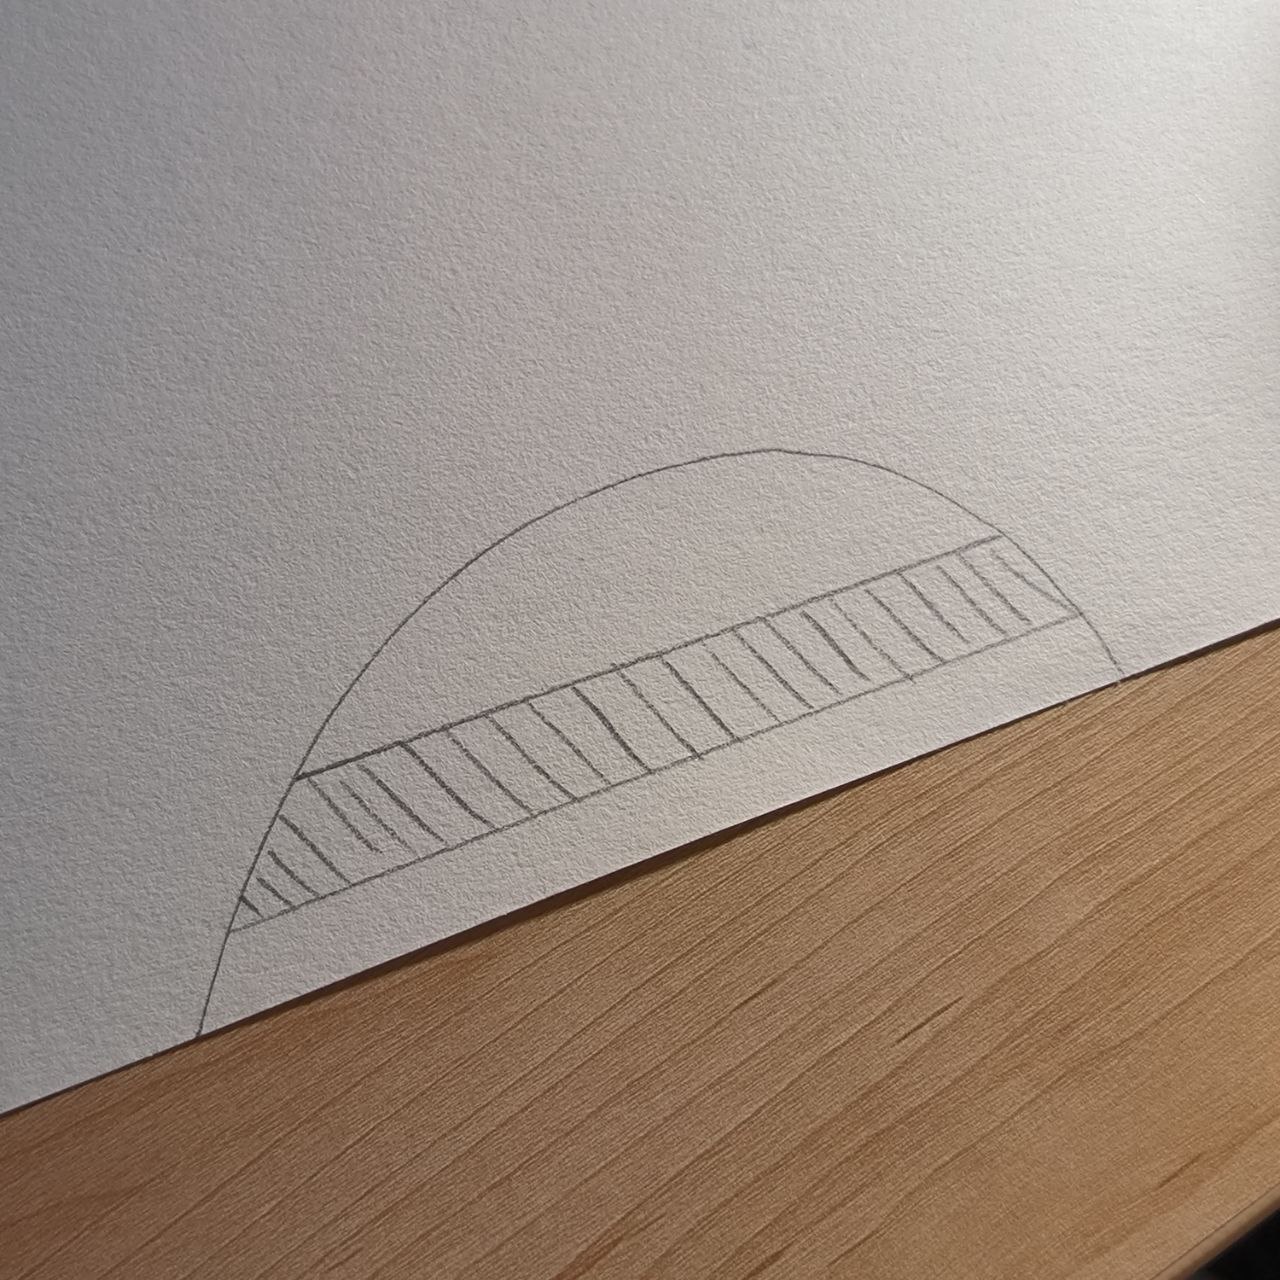
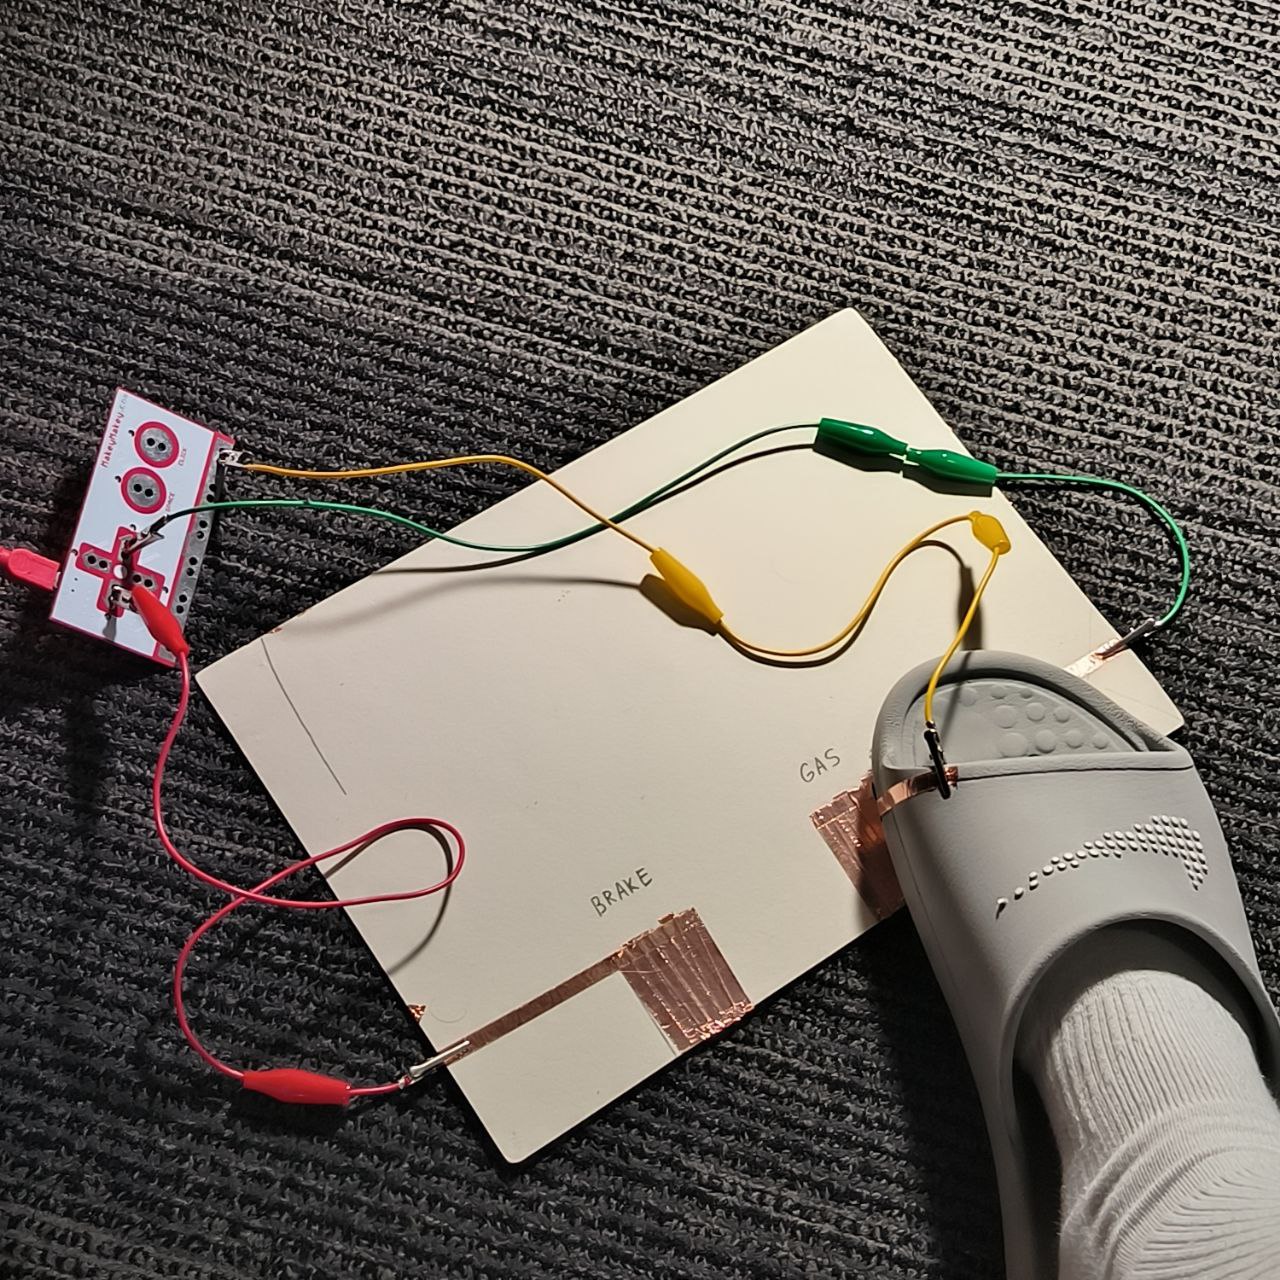
Activity 1


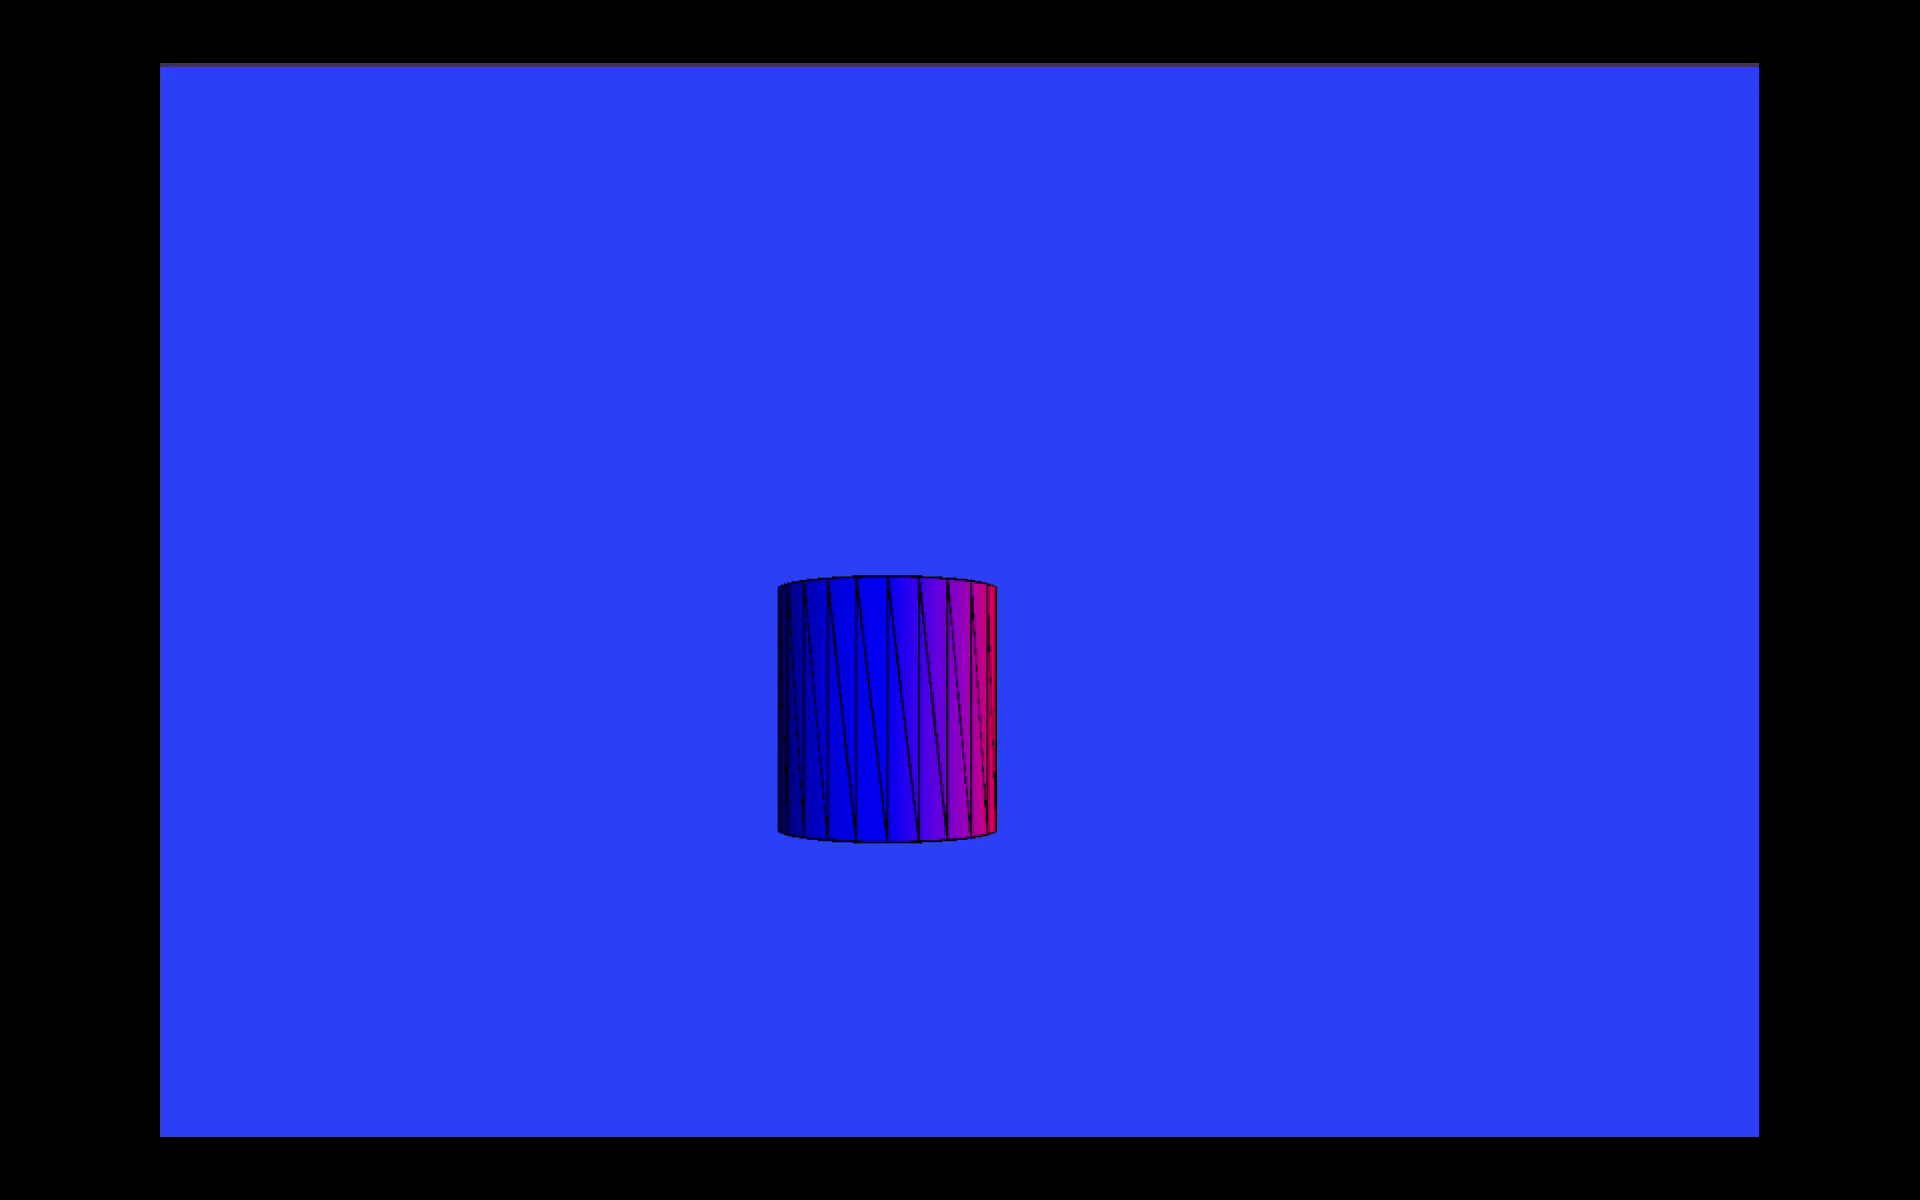
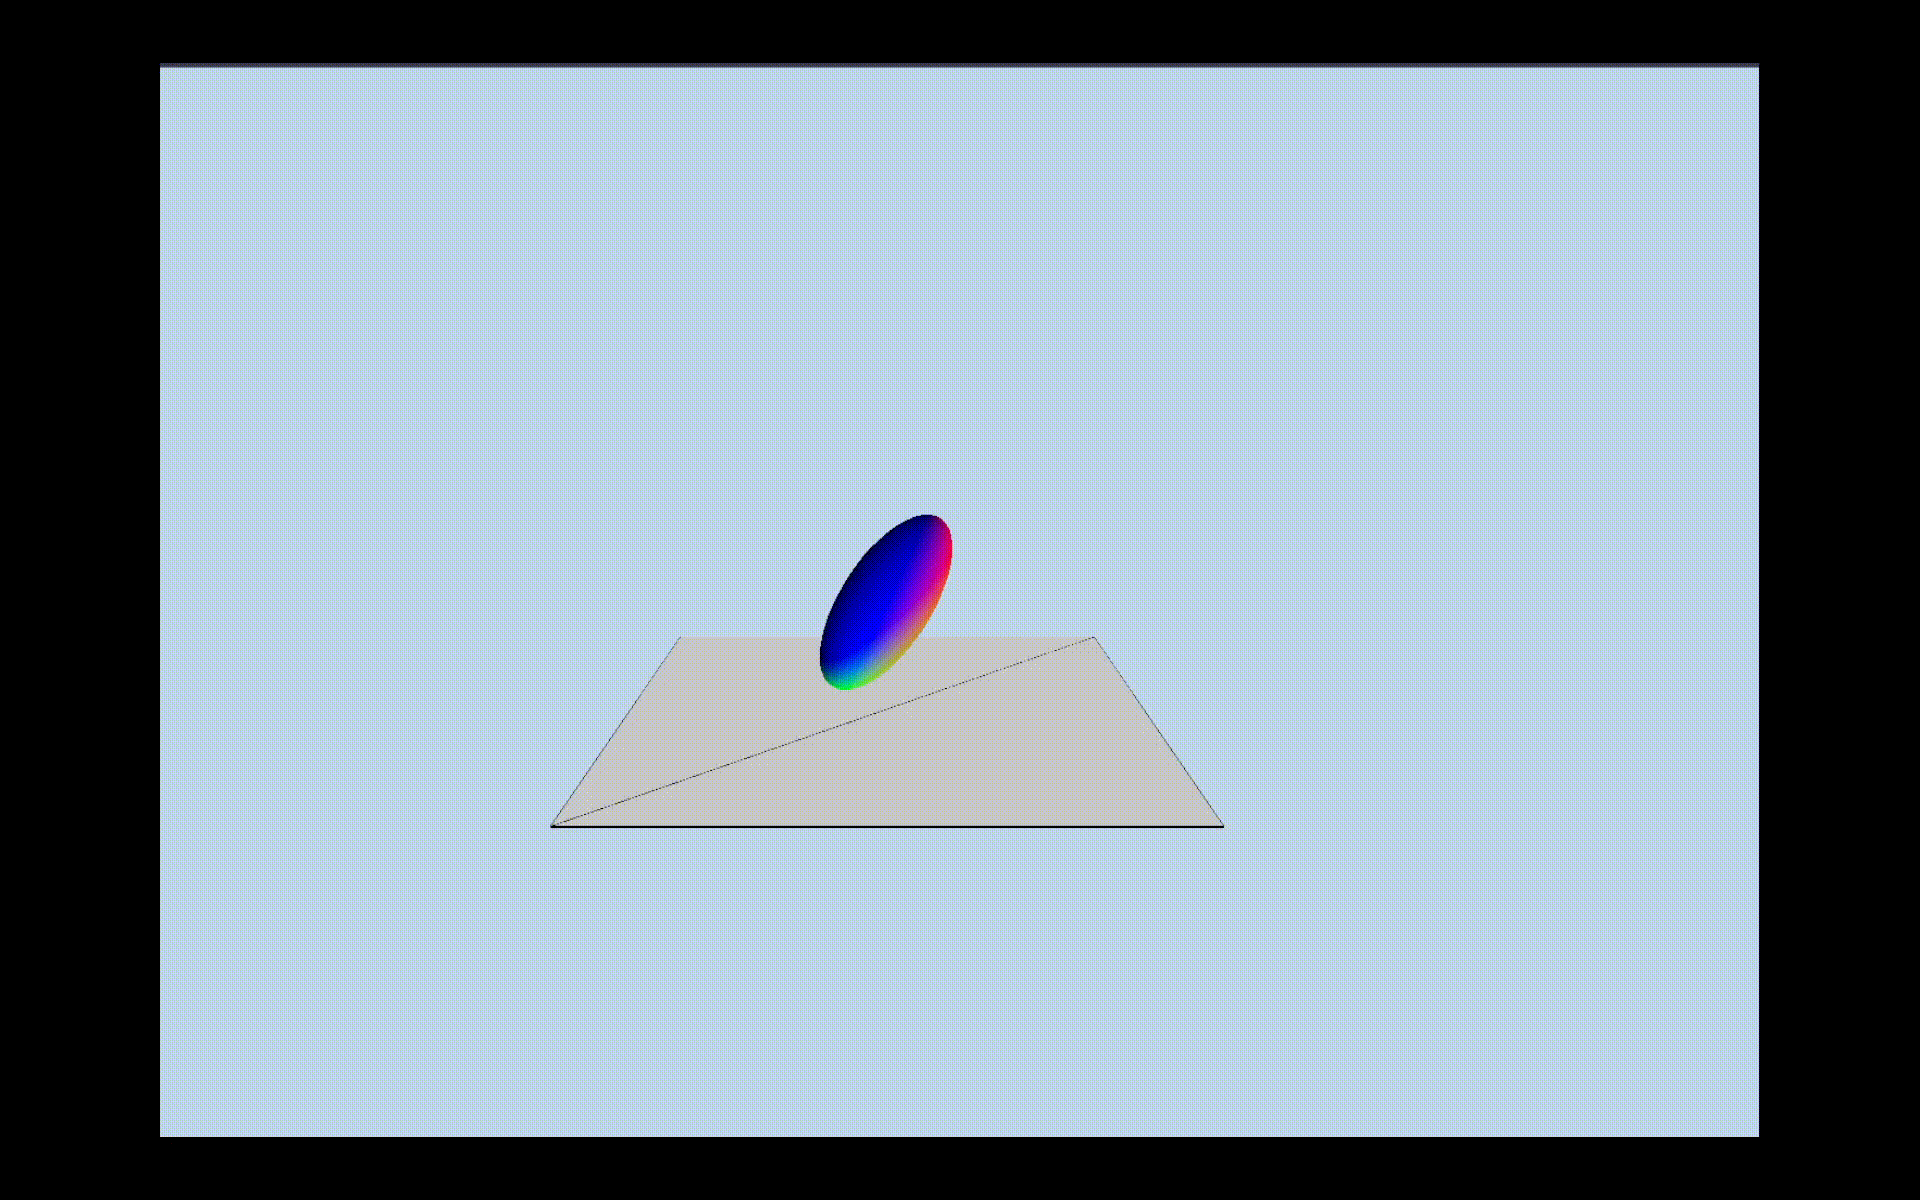
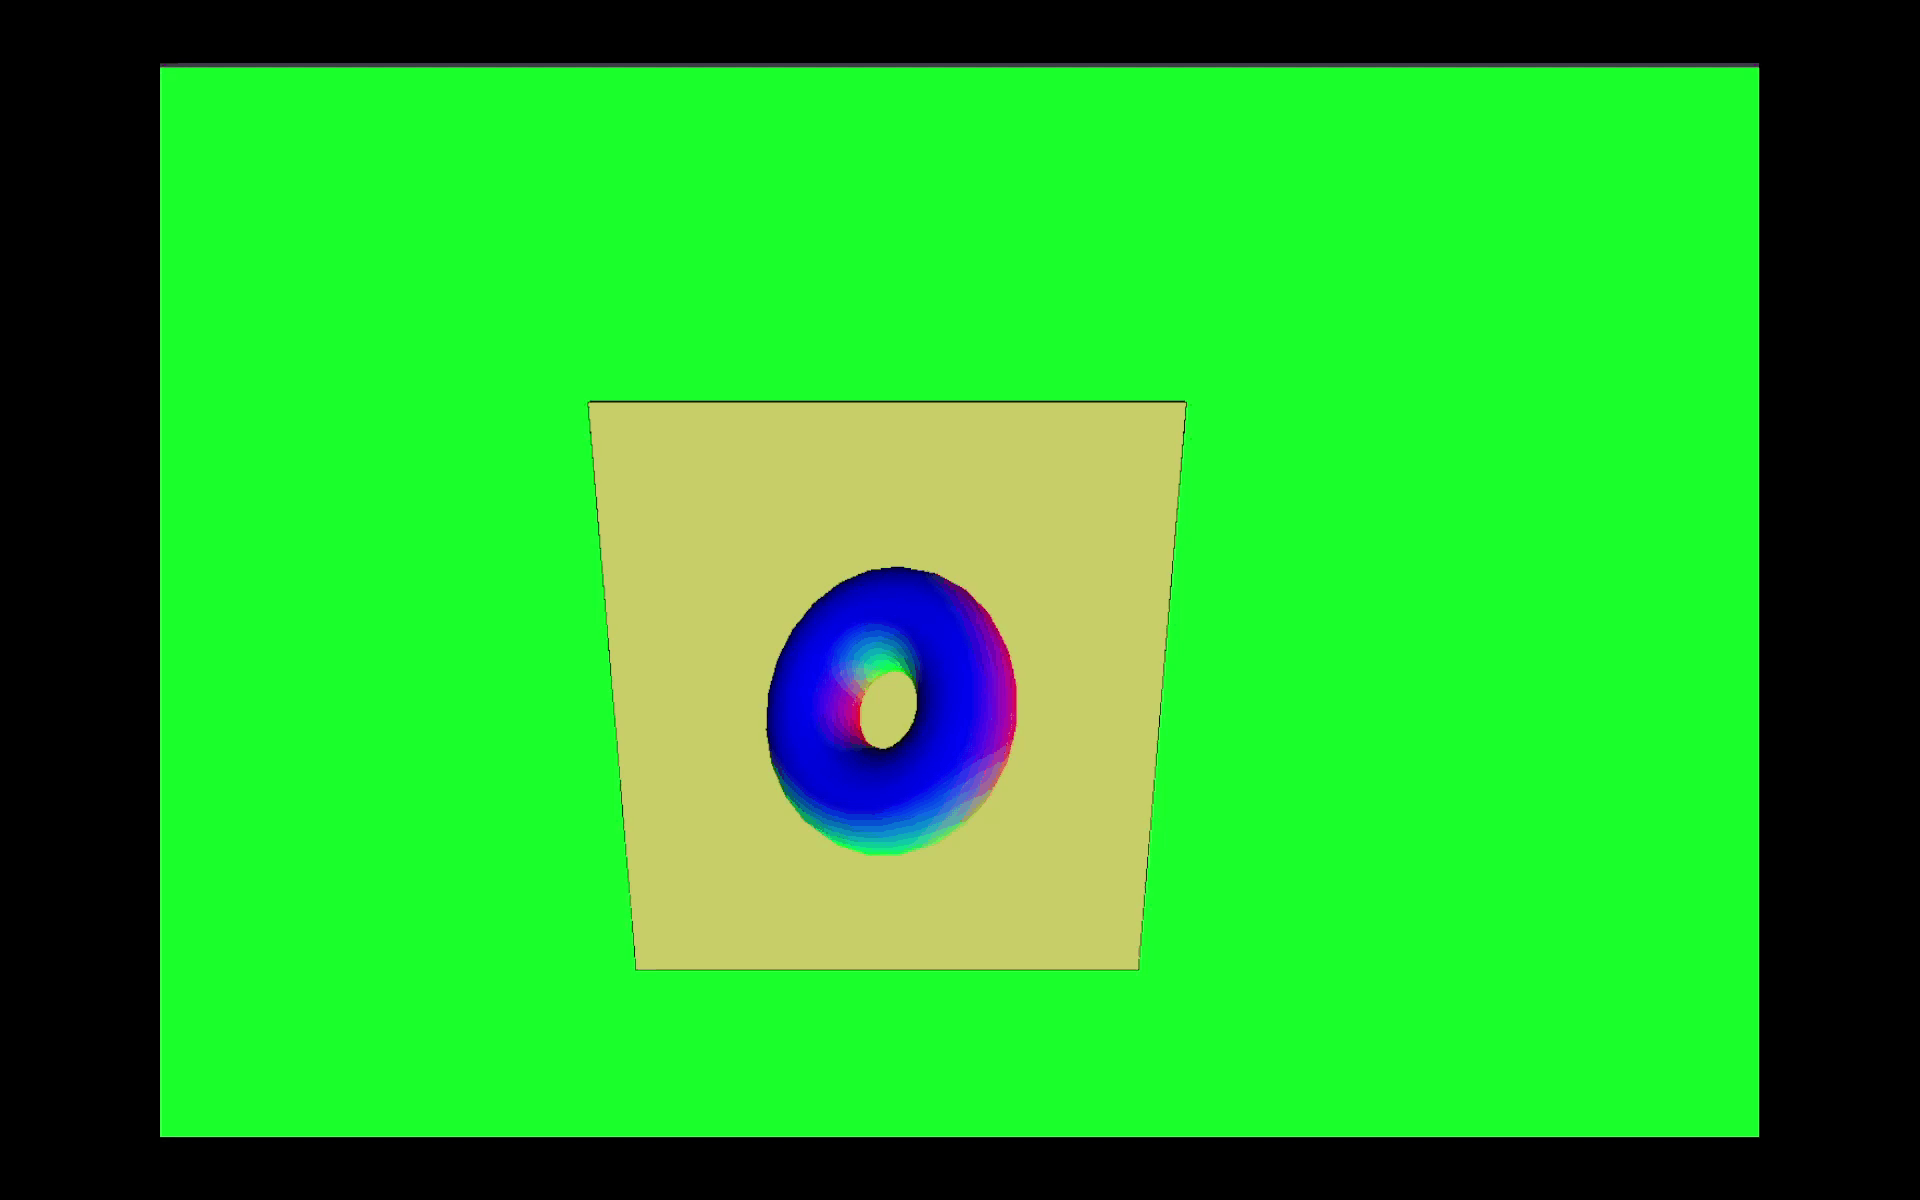


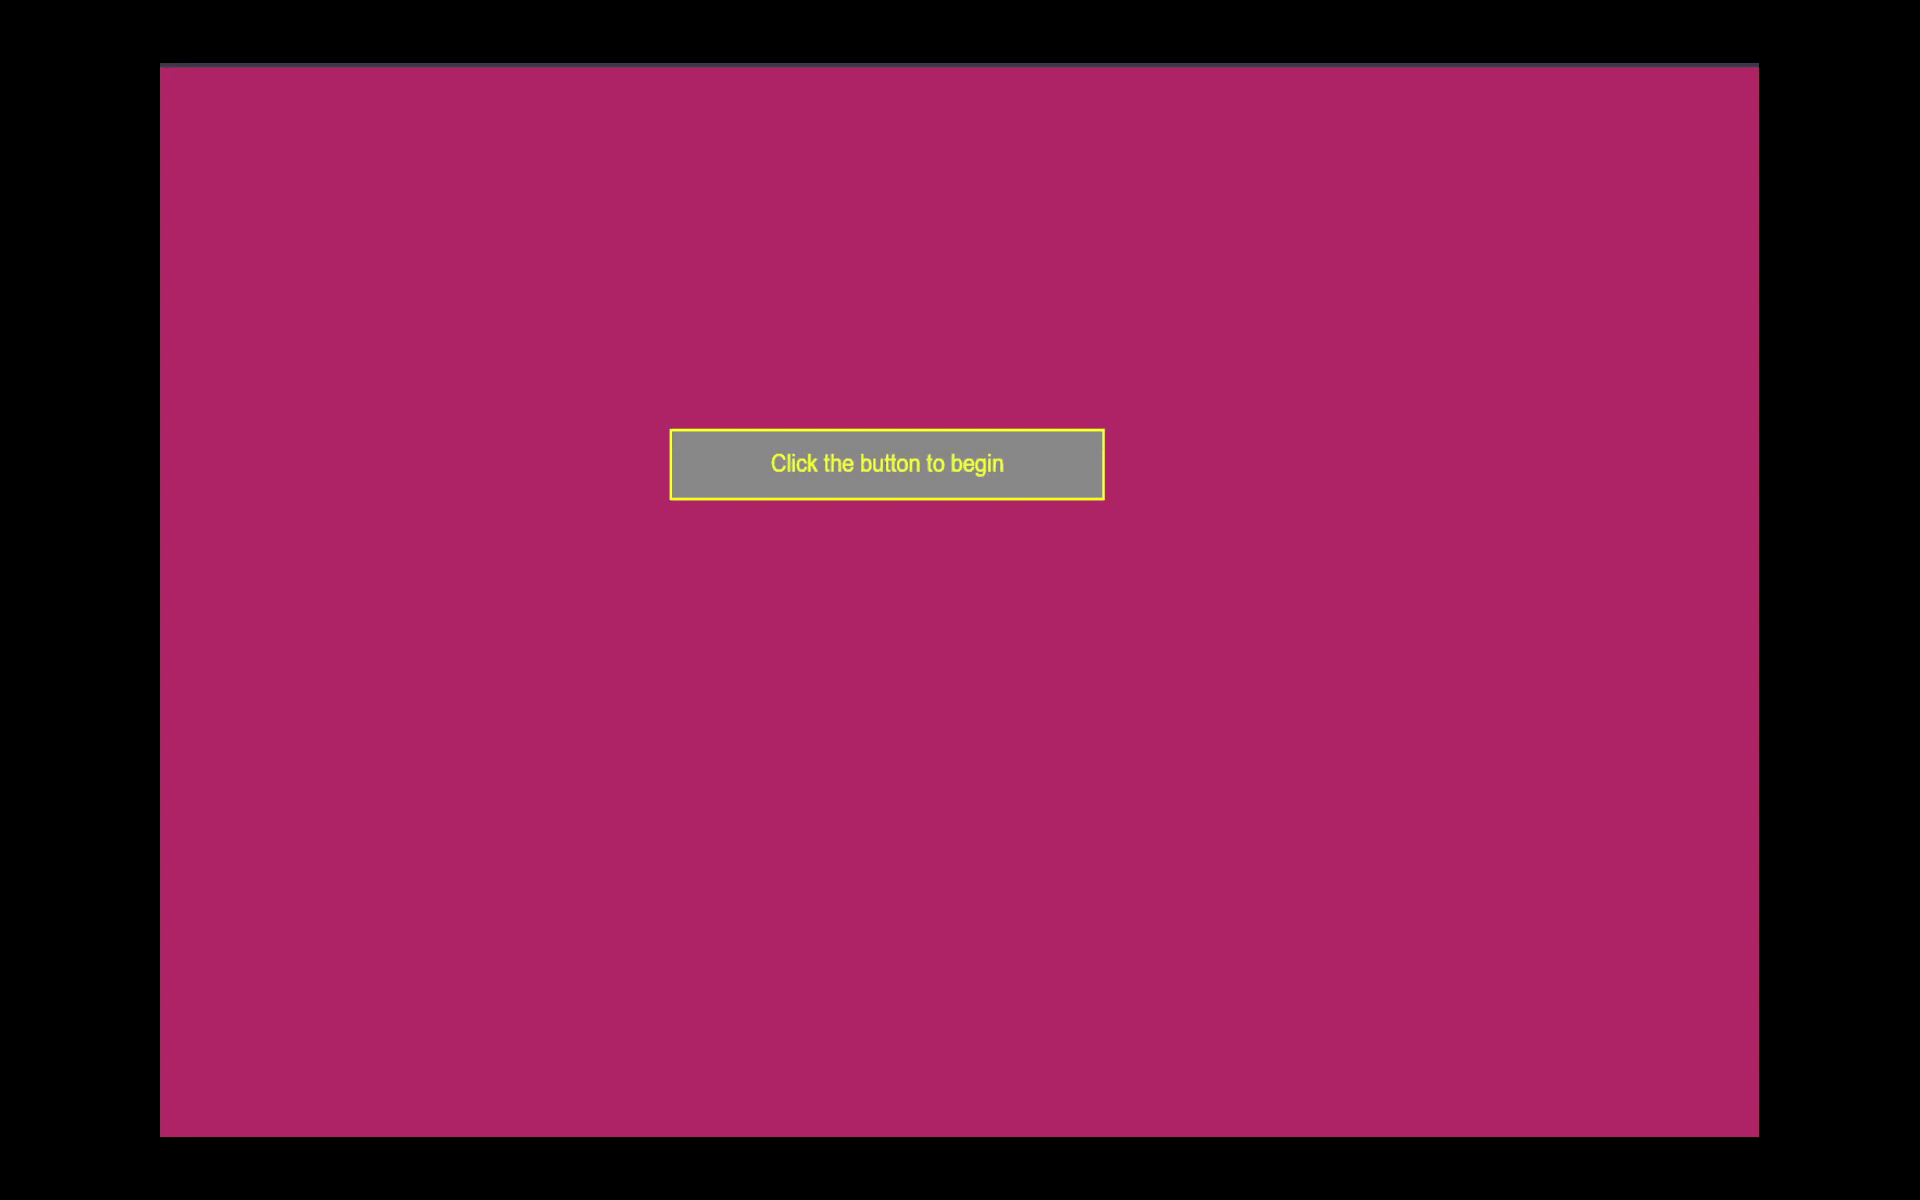
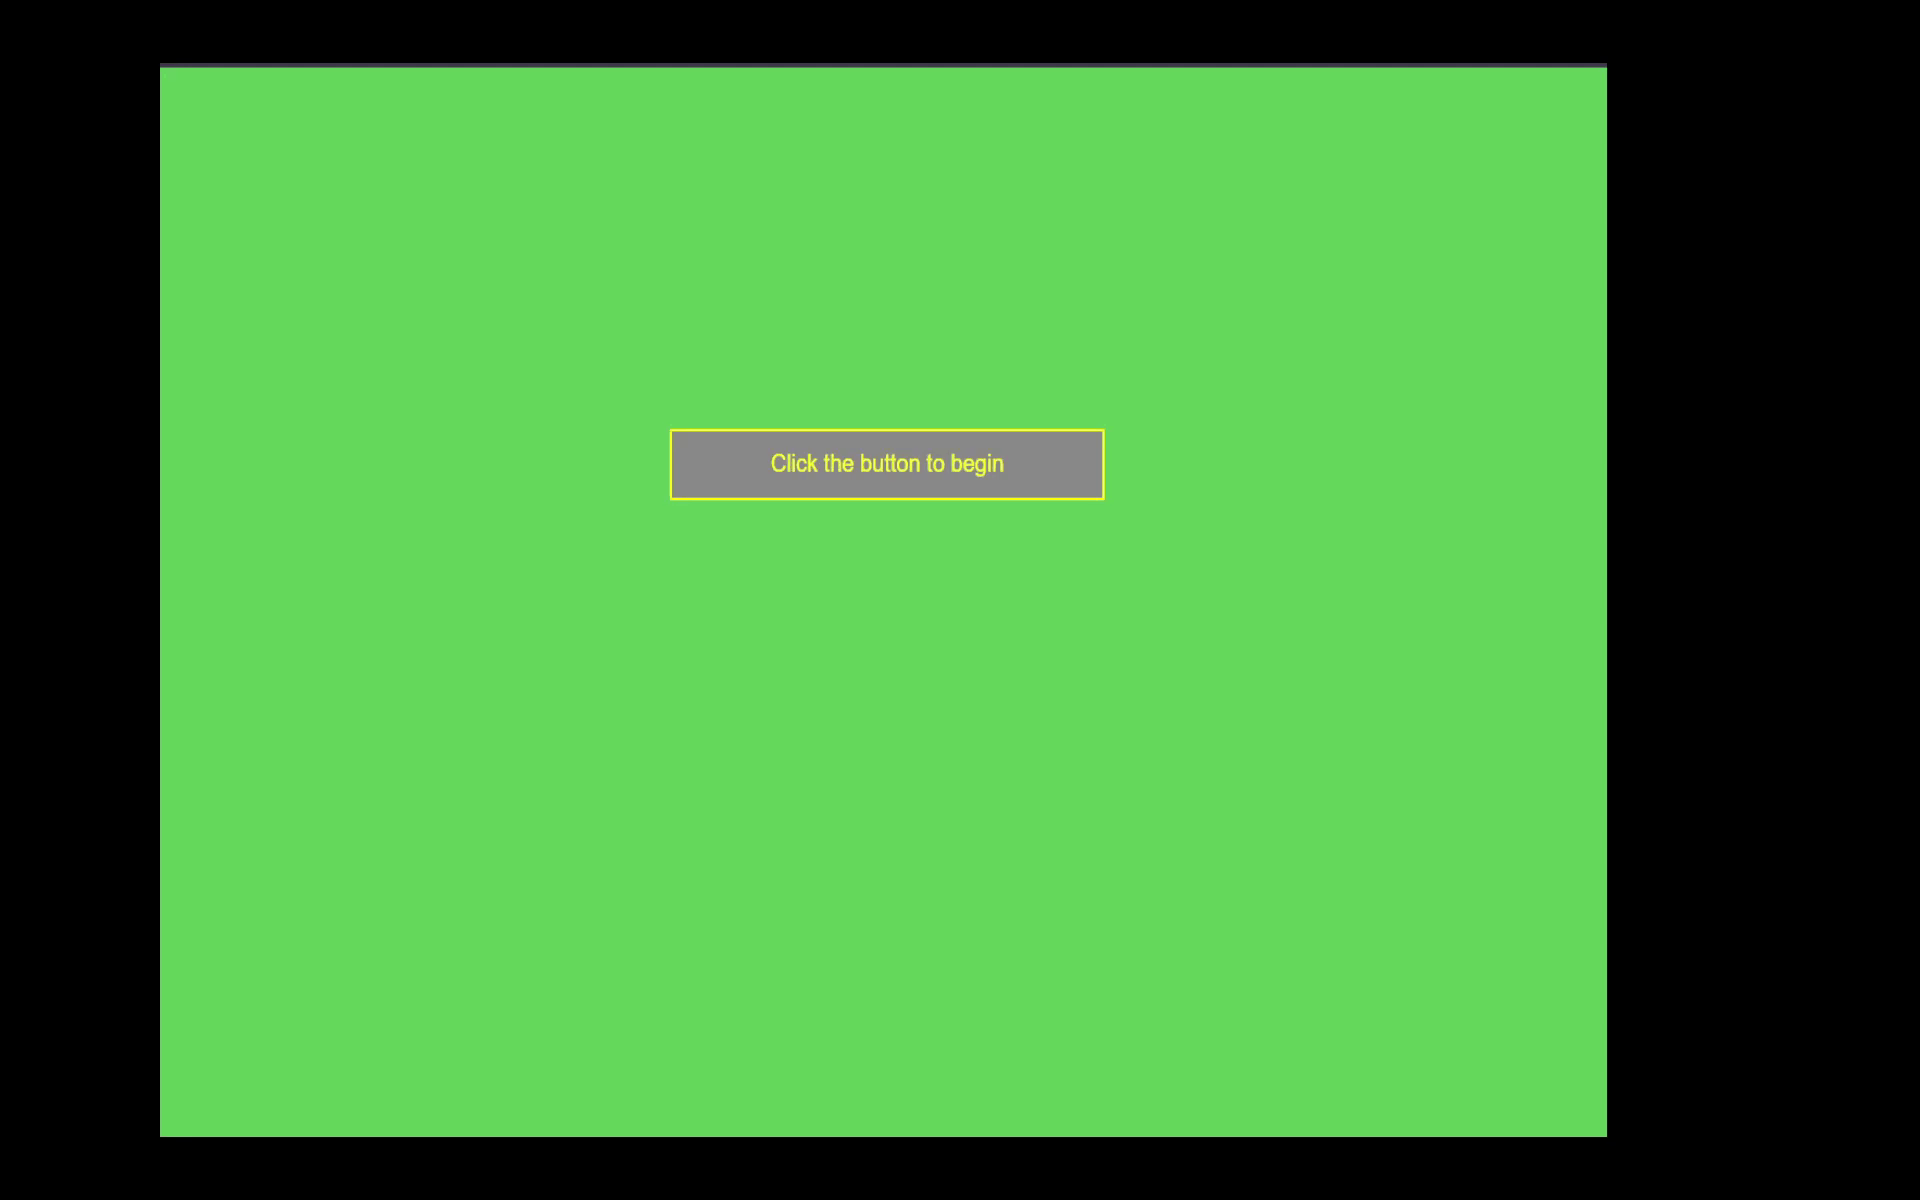


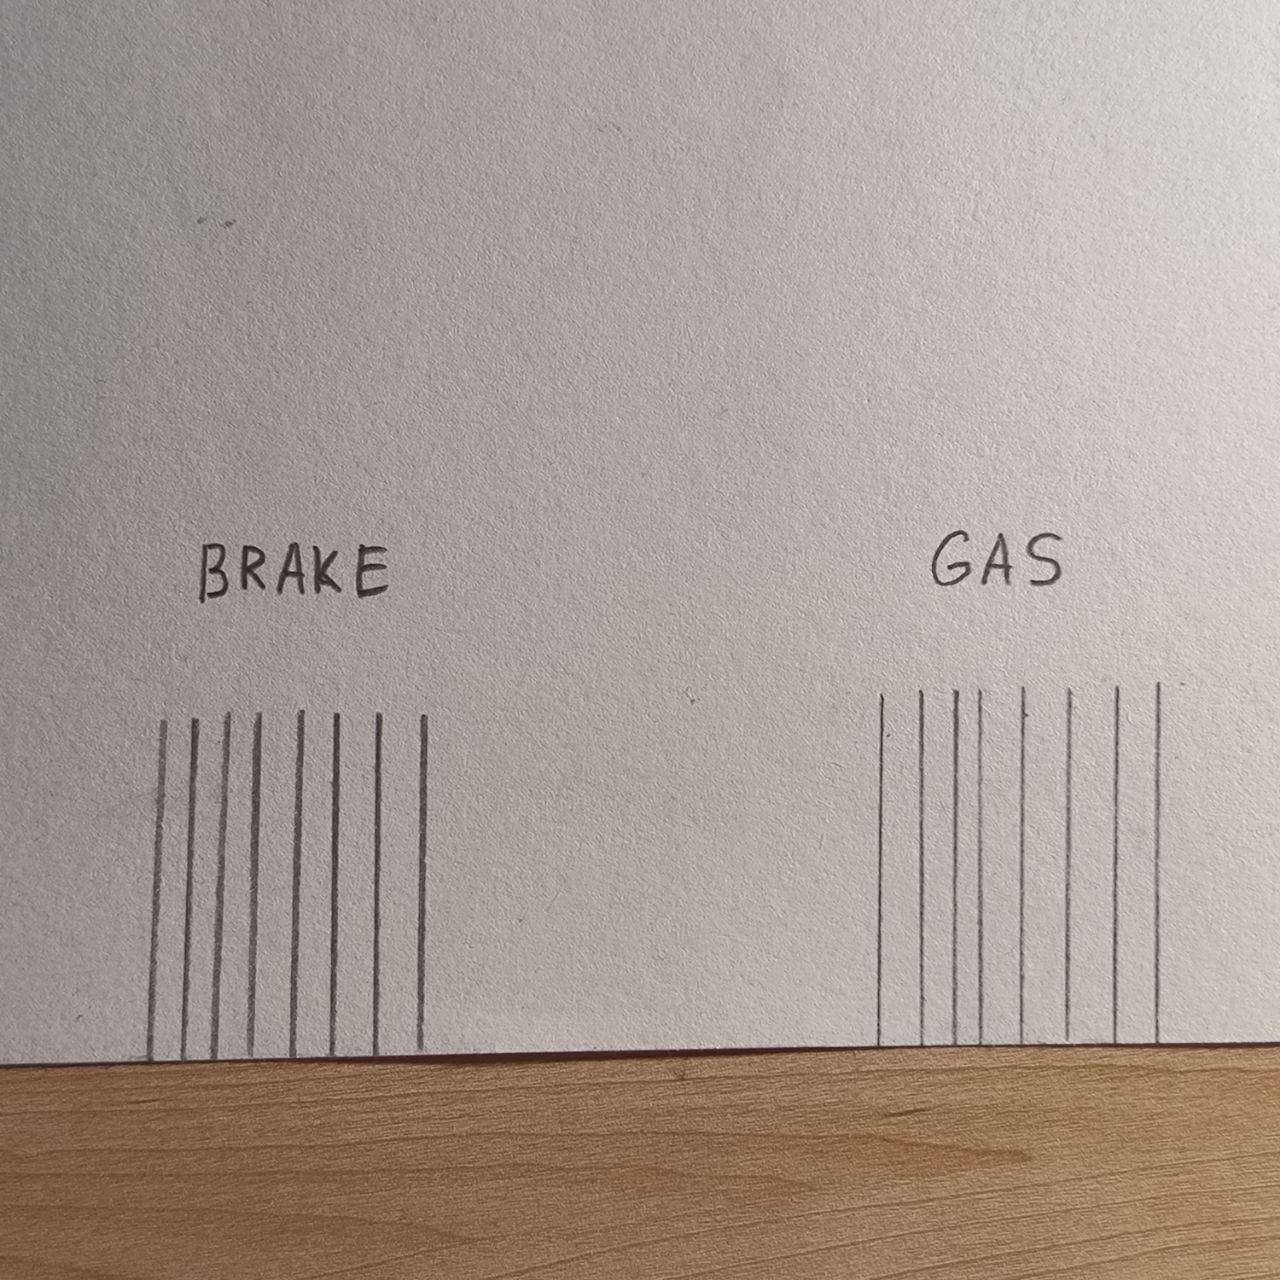
Activity 2


Project 3
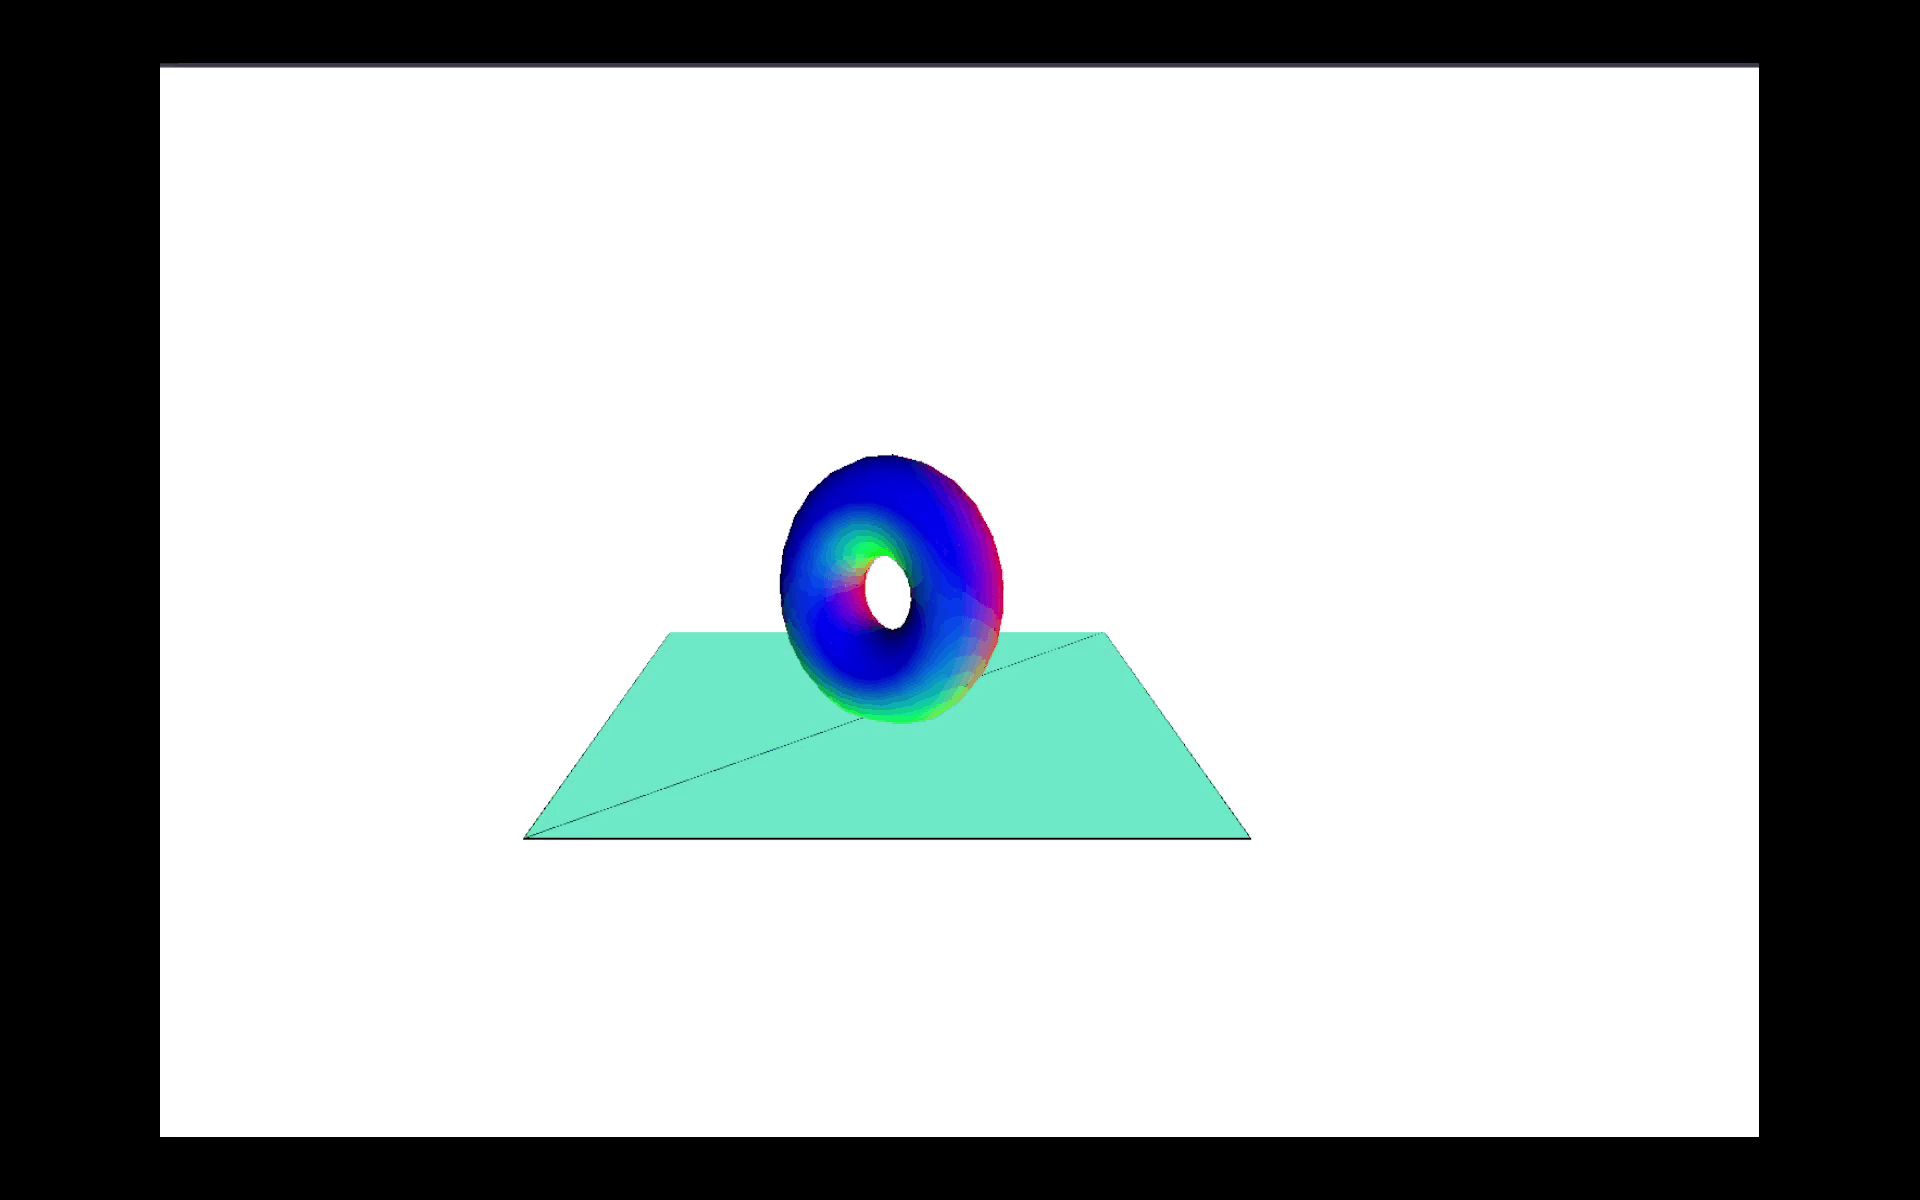
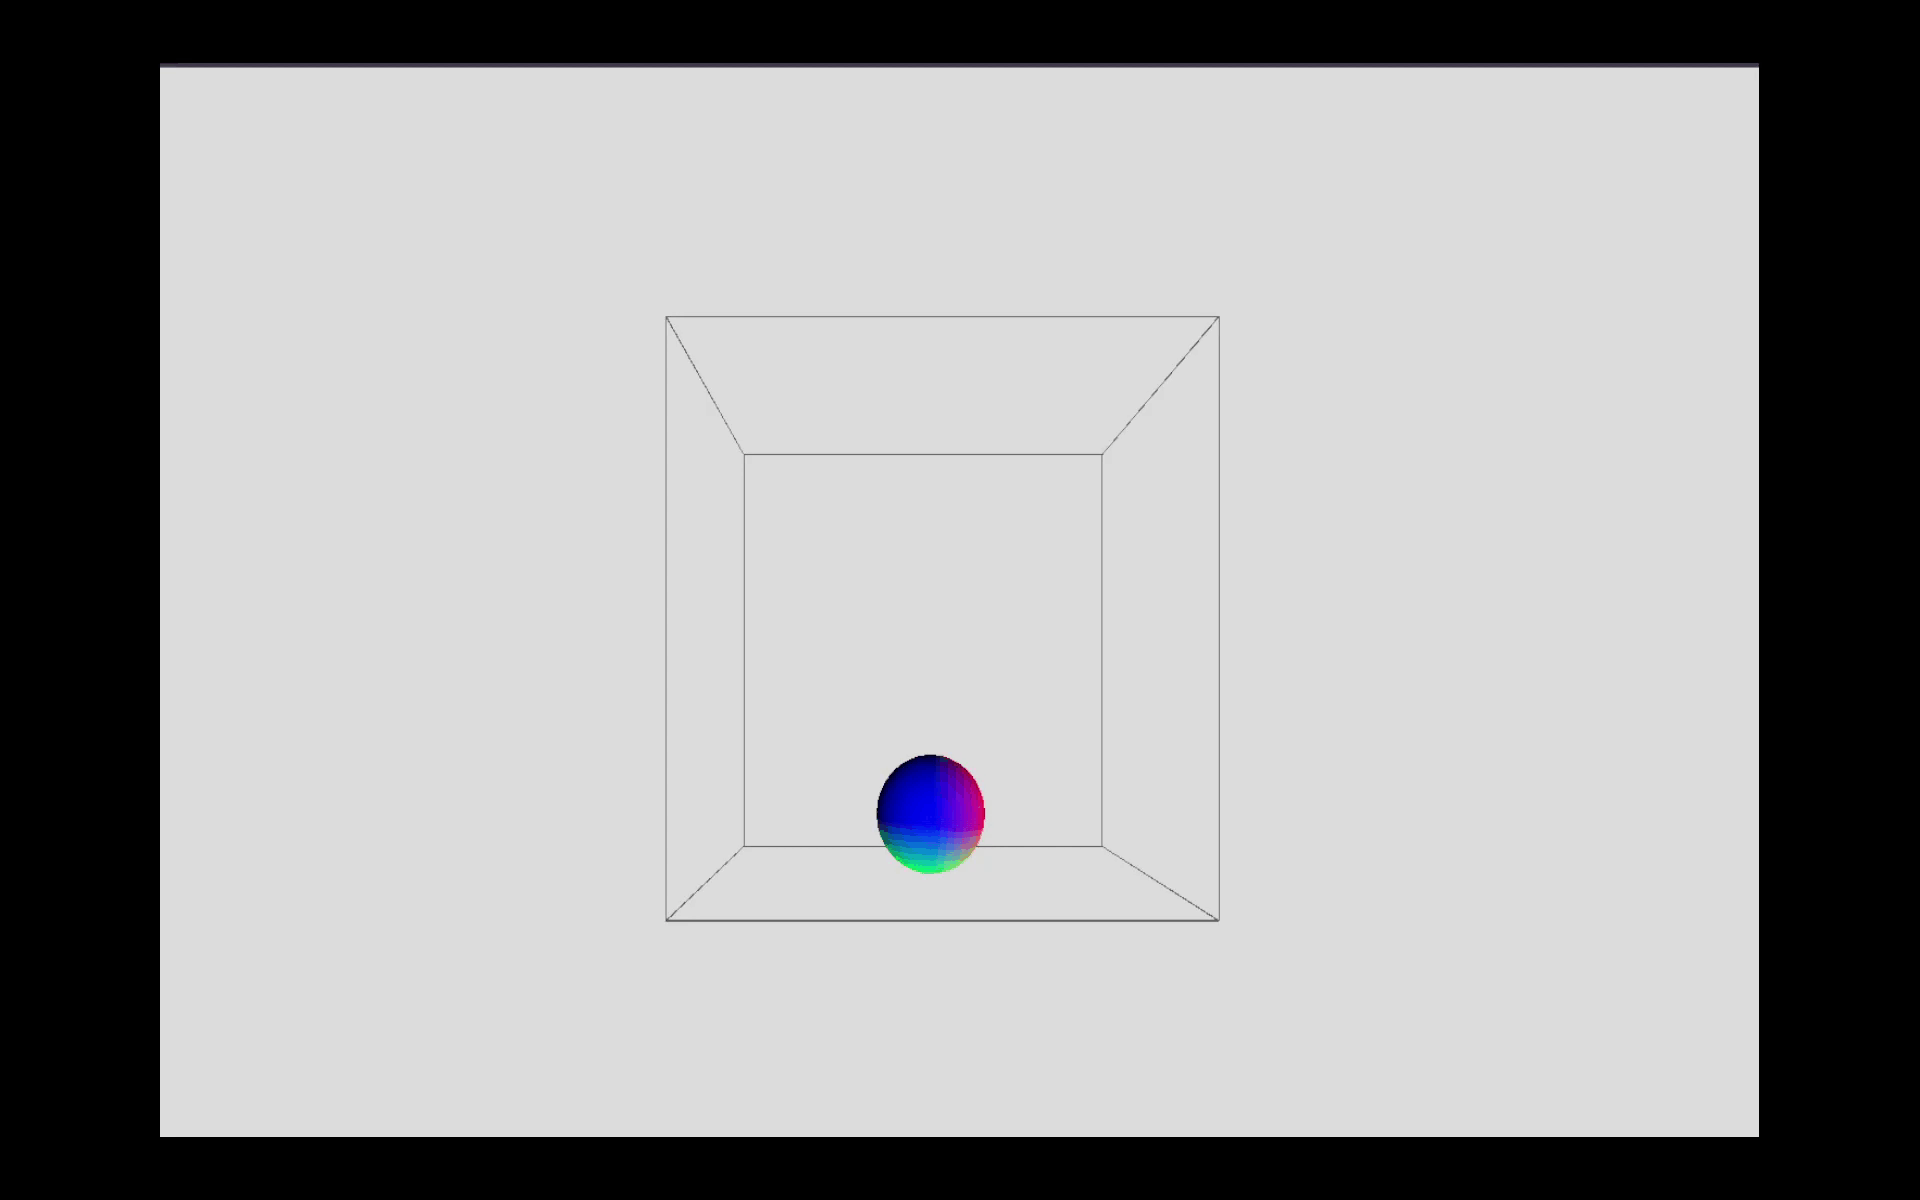
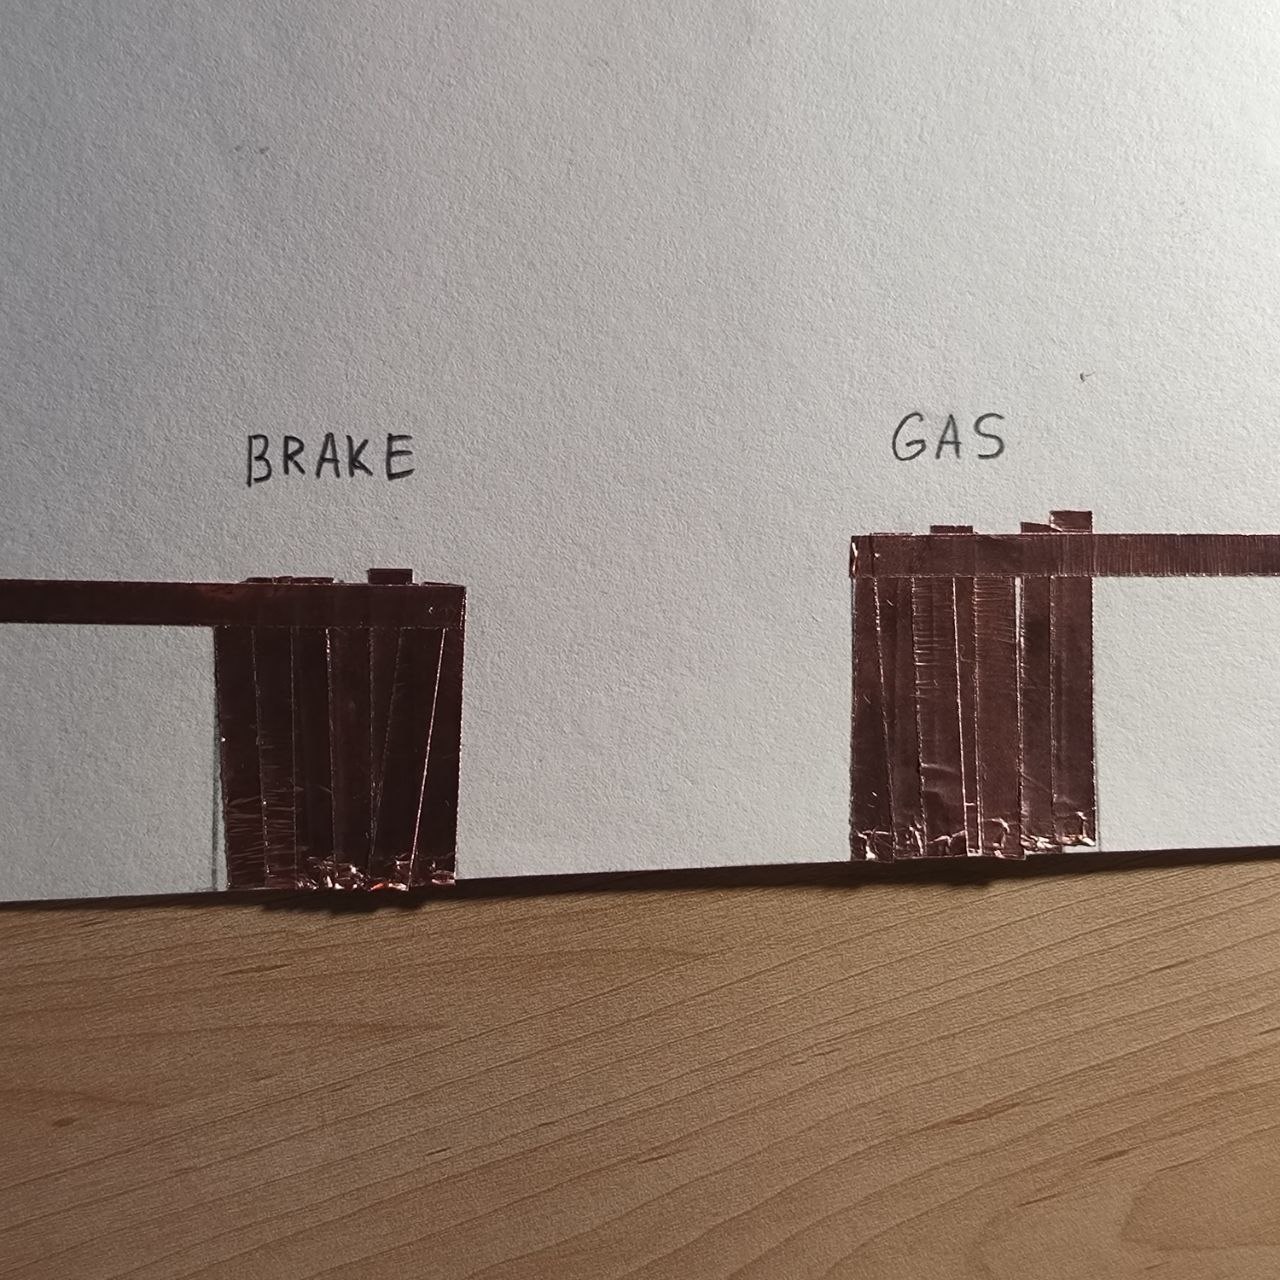
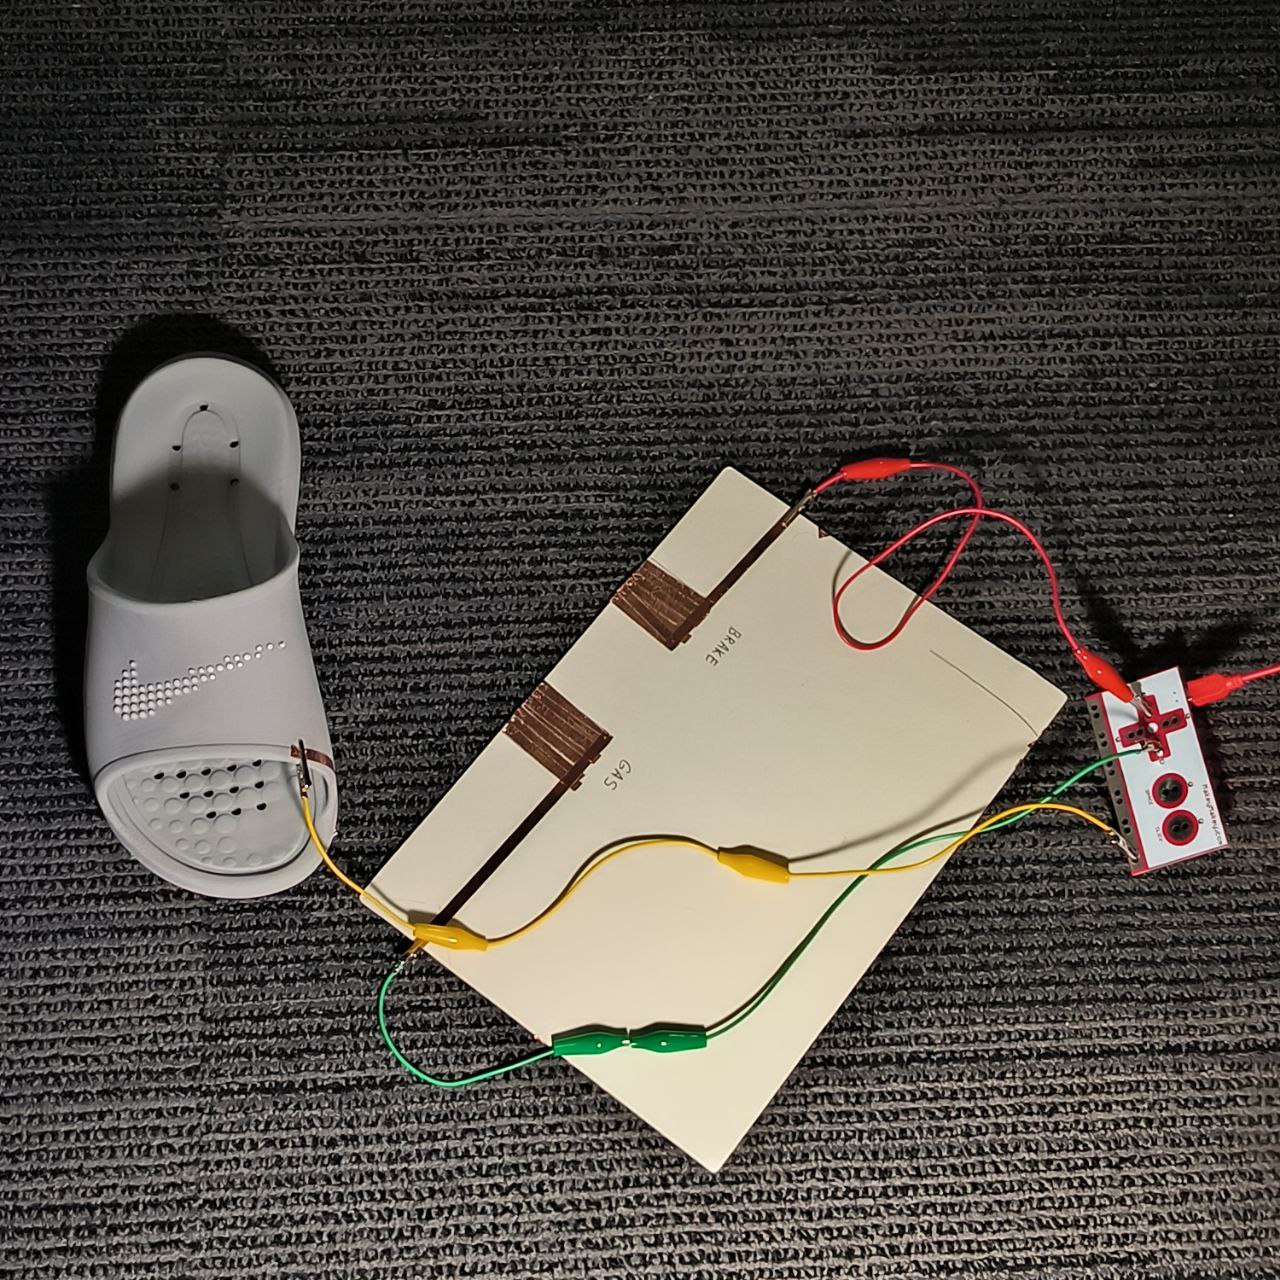
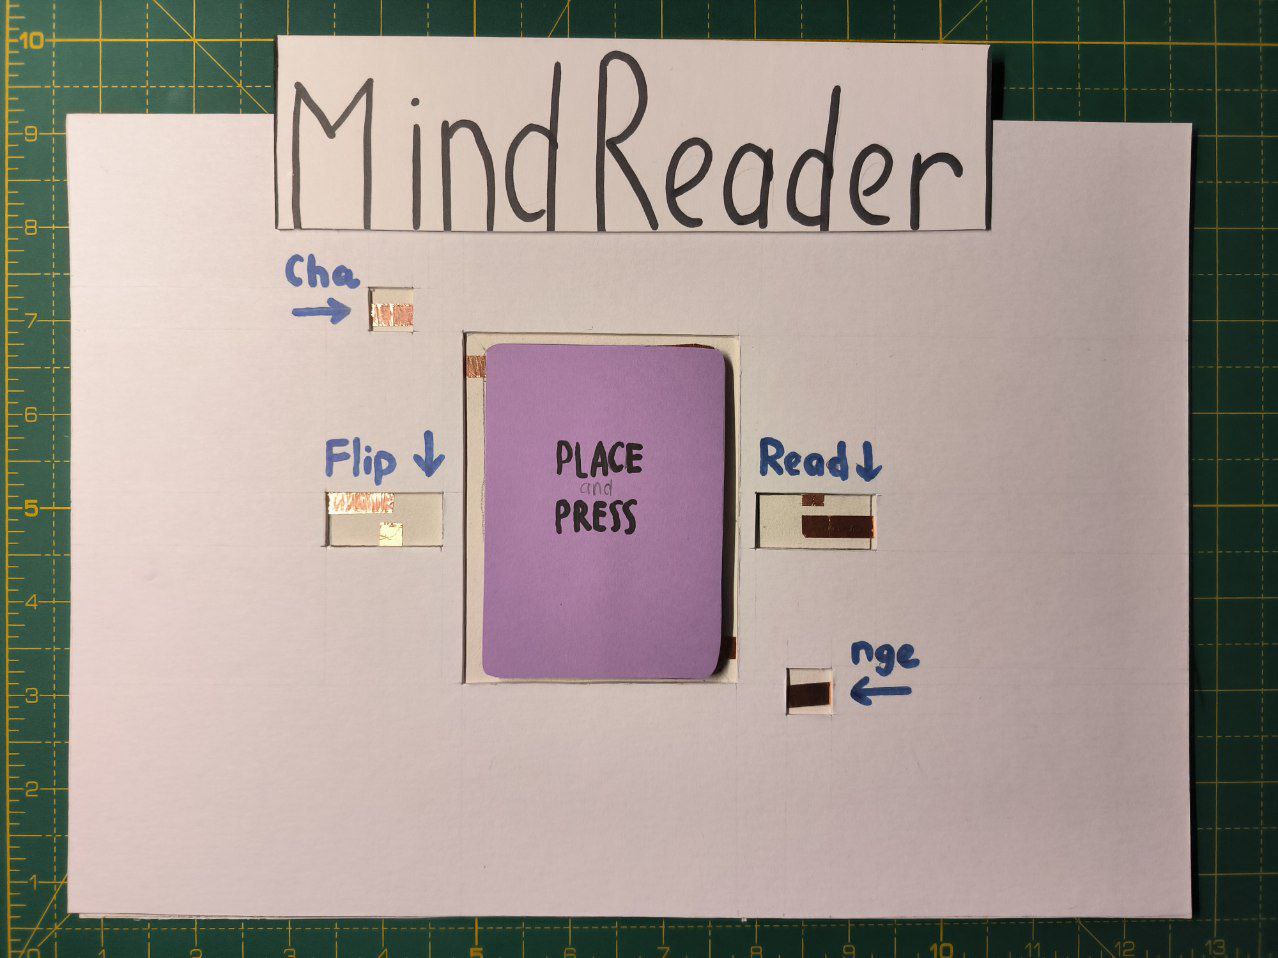
Final Project 3 Design
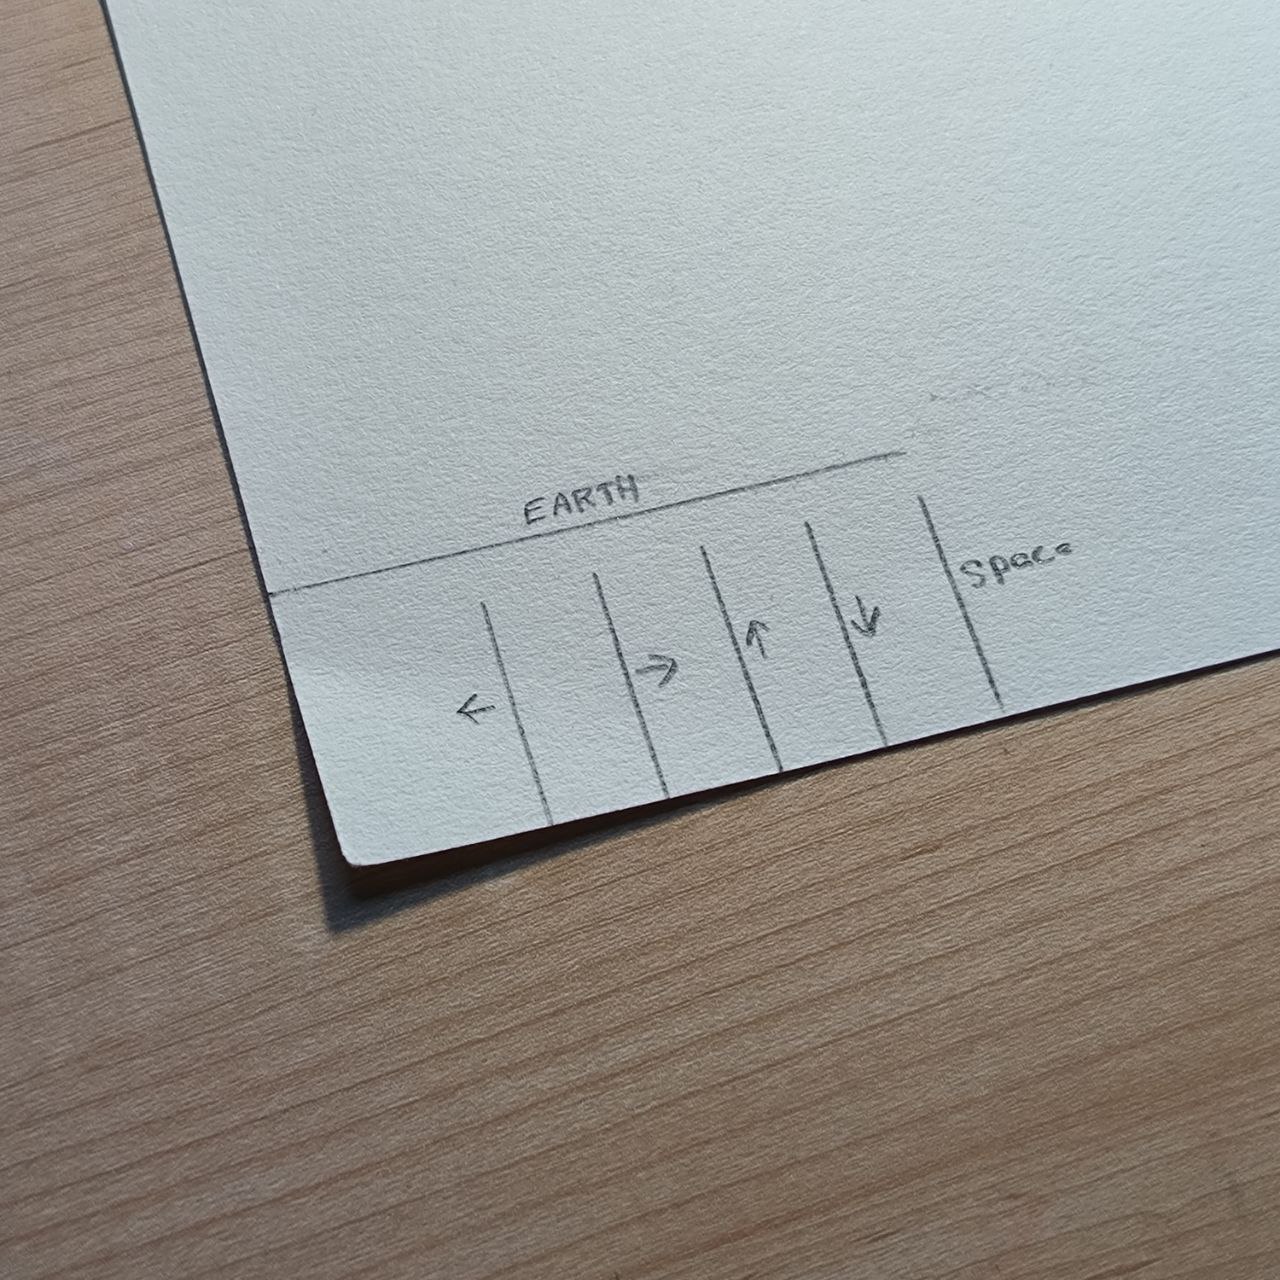
This is my Final Design called: "The Digital Mind Reader"
Powered by w3.css